Commodore Amiga Retro
![]()
C=
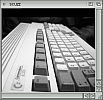
Living in a Box
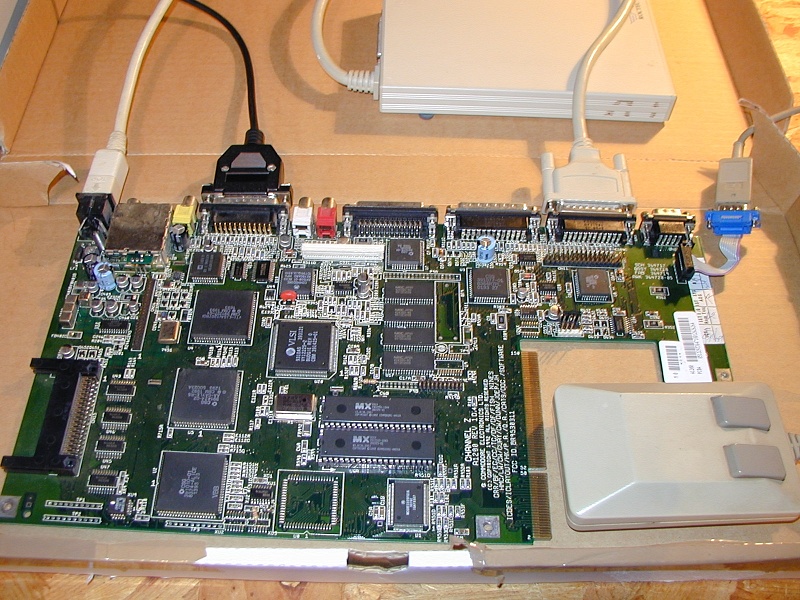
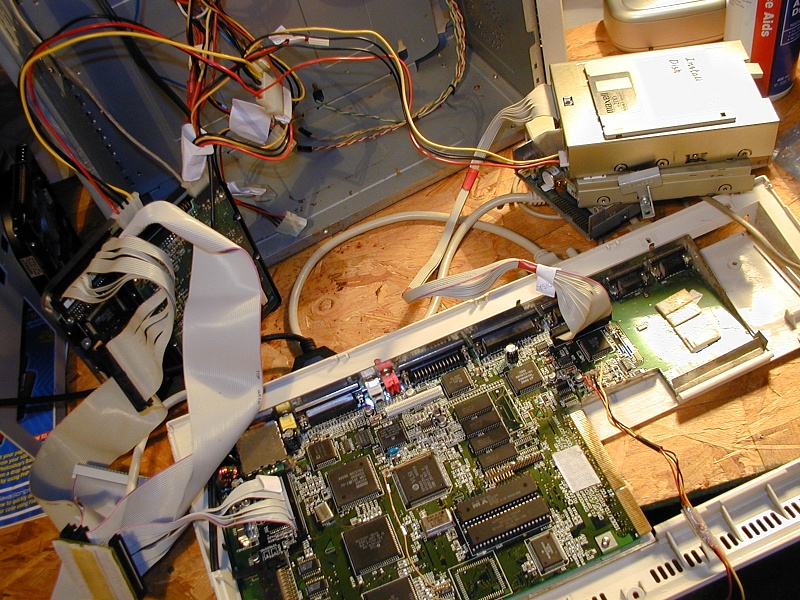
OK. So not quite a cardboard Amiga, but probably displaying
the least amount of Amiga parts you need to get a fully
functioning computer
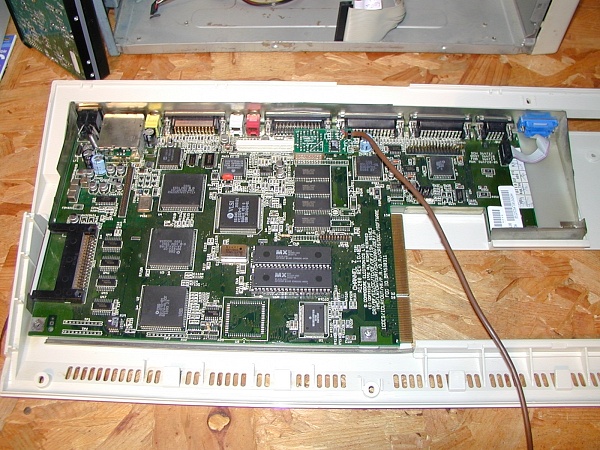
The A1200 motherboard is connected via a standard power
supply. The monitor connects into the video socket, though
a TV could be used. Workbench is supplied to the unit via
an external disk drive as the internal is missing. And
the mouse allows you to interact with the screen.
And so the Amiga motherboard works with just a bare mobo
TV/Monitor, external floppy and mouse.
Not a clever way to run your Amiga, but a good way to check
if your motherboard is functioning.
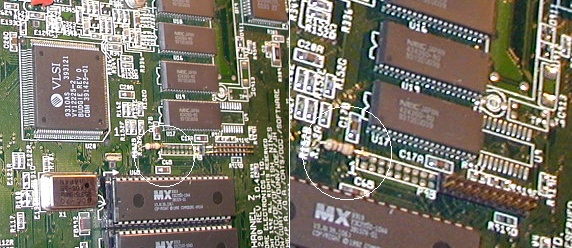
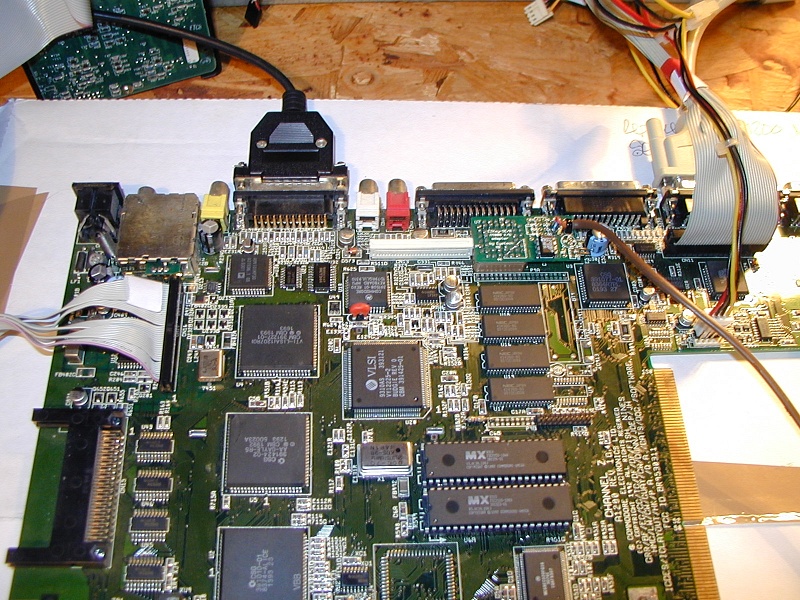
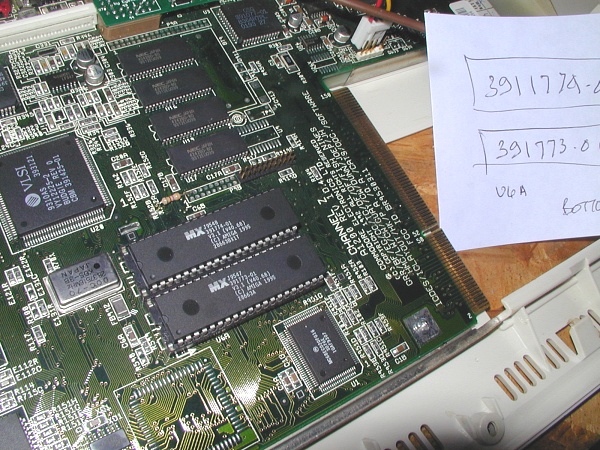
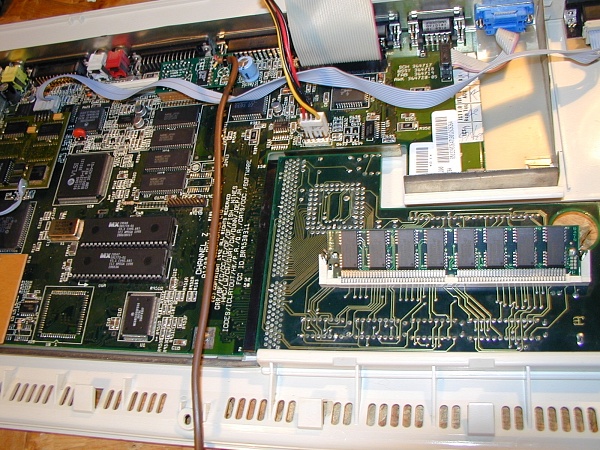
Question
What is the component circled. I haven`t seen this on otherAmiga motherboards, though I have seen half those pins missing
The answer
This question was not about the resistor, it was about the
revision of motherboard. The Eyetech tower has conflicts with the
1.D.4 and 2.B baords as these were designed to take corrected
versions of the Gayle and Budgie chips. The main production
boards in the UK Rev 1.D.1 has onboard provision for hardware
workarounds to fix the main bugs. This board works fine with
most combinations of expansion hardware and is the one that
Eyetech test expansion products on before shipment.
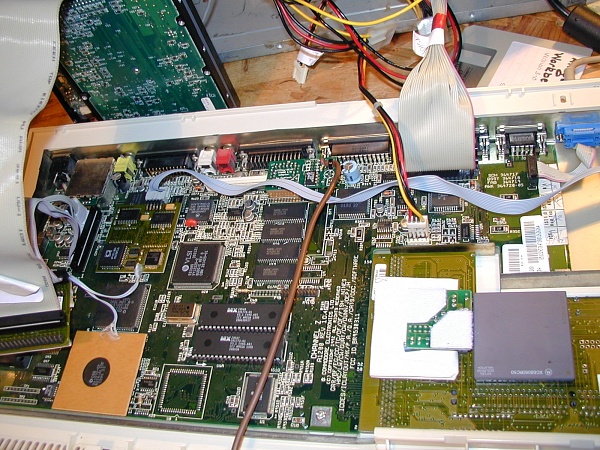
Eyetech themselves however have been making the modifications
to the Amiga A1200 Magic Packs since they there made available
from Amiga International in late 1997 and the question I was hoping
to get an answer to was... is this a mod to this 1.D.4 board made
by Eyetech to make it usable in a tower, as this resistor is not
evident on any of the other motherboards I have seen.
The answer is yes
MOTHERBOARD REVISIONS:
REV 1D.4
Budgie REV -01
Remove E123C and E125C from the A1200 motherboard
Budgie REV -02
Remove E123C and E125C from the A1200 motherboard
Remove XR358 470 ohm pull-up resistor
-> Add 470 ohm pull up resistor at pin 43 of U, ie the Alice chip
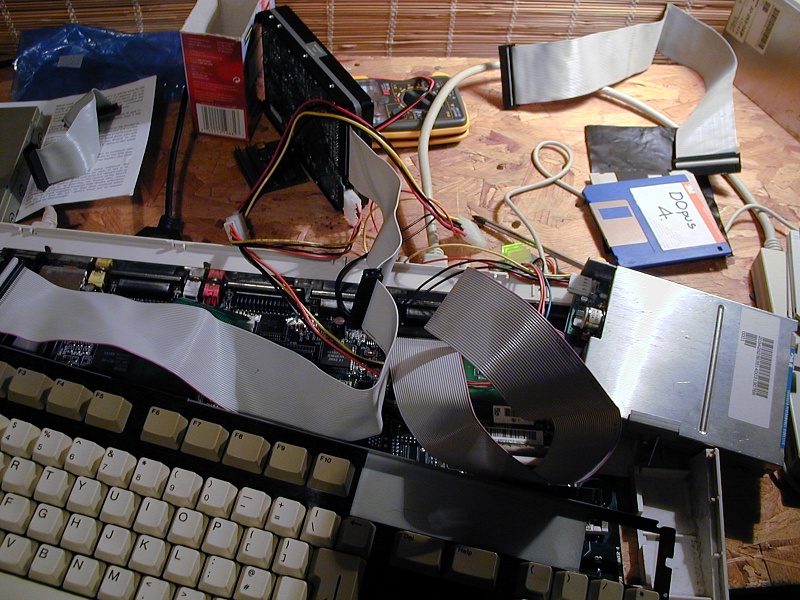
Towering Success
A1200 Tower
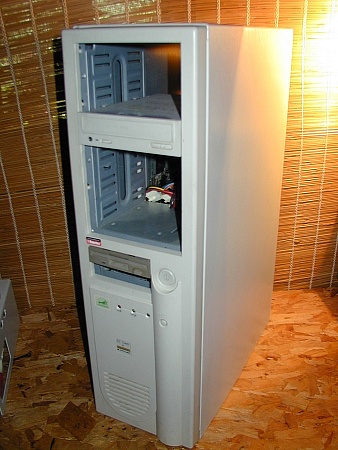
Having had the answer to my question it was time to
see if the tower was working. Time to ditch the cardboard
and go for real power. But in my case stage by stage
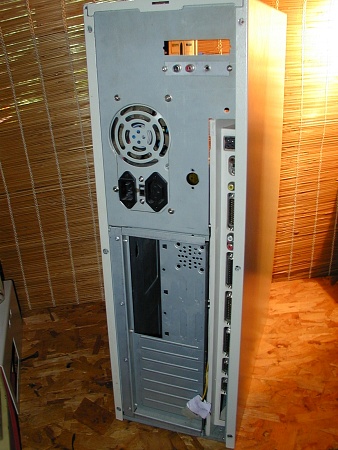
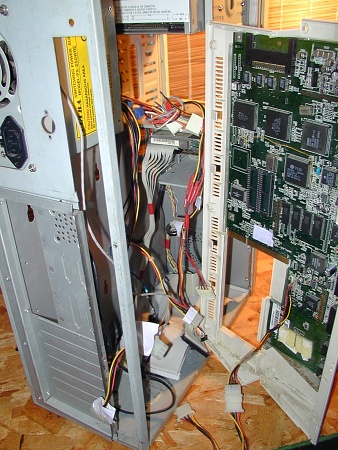
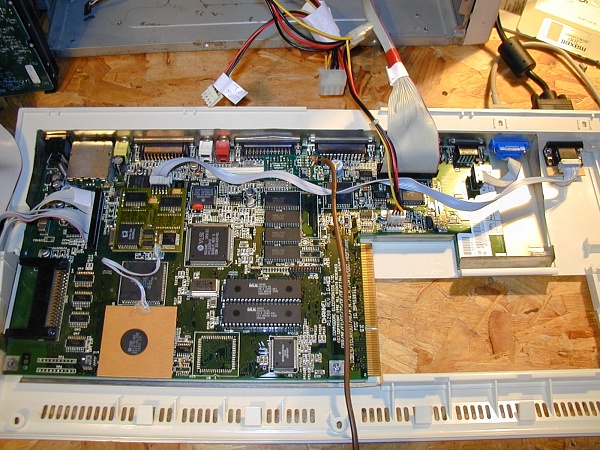
There are very good reasons for `NOT` using two PSUs to
power a motherboard, so don`t try this at home
Power to the two IDE hard drives on the left from the tower PSU
Power to the floppy on the right from the tower PSU
Power to motherboard from standard Amiga PSU.
External floppy and monitor fed direct from motherboard
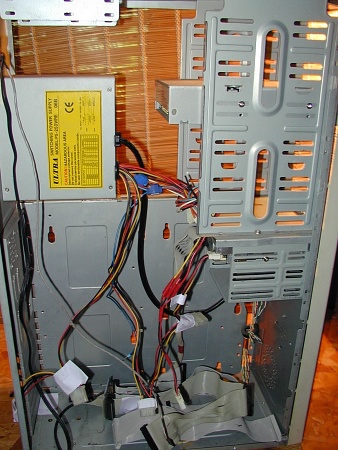
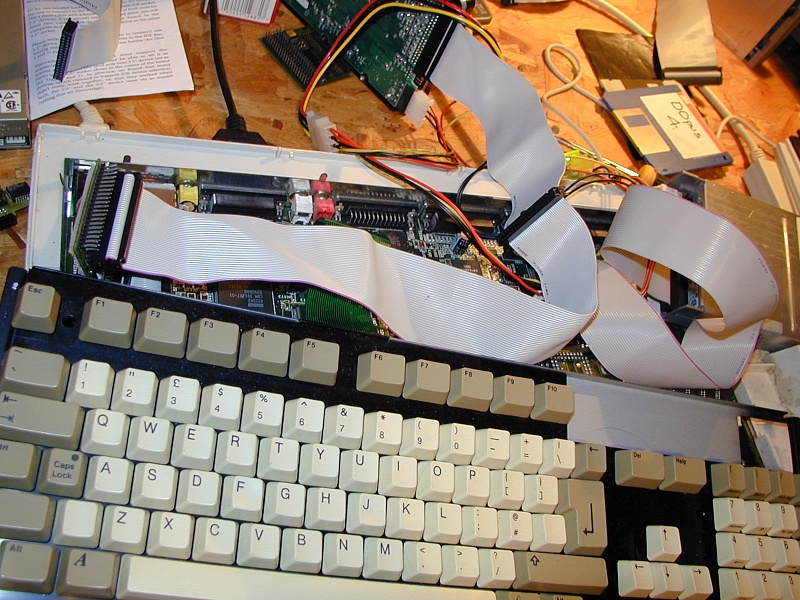
Towering Success
Changed motherboard, added keyboard connector and
powered from the main tower PSU to the floppy connector
And now for the real thing
Let's lose the cardboard and go for the tinbox
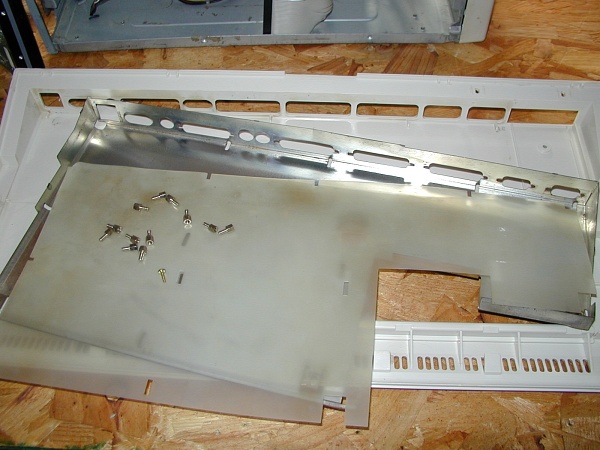
Prepare a clean A1200 baseboard and install the shielding.
Insert the A1200 motherboard, making sure you fold over
all of those dangerous metal sharp tabs. Note that I have
already inserted the EZ keyboard adaptor.
Next up I changed the old 3.0 ROMS for the new 3.1 ROMS
If you intend doing any serious upgrading you really need
the later ROM chips. I keep the paper handy to remind me
which way round the chips go.
I then installed the scandoubler flicker fixer, which enables
me to use a PC monitor. In this case a DELL monitor
I tried the board out with an 8MB RAM board to start with
just in case the board went pop. This enabled me the opportunity
to install the Apollo libraries. I then swapped cards and installed
the Apollo 1260 68060 with 32MB RAM.
I then formatted a 1GB hard drive and set up two IDE 3.5"
drives off the 4 Way Buffered Interface
Next up will be the CD and the OS upgrade
Bits 'n' Pieces
From the droppings off the table from my tower project
I created yet another A1200... Amazing really
If you can only see this CONTENT window
then click the image above for the full site
Last updated 07/10/06