Amiga 500 - So you have never used one.
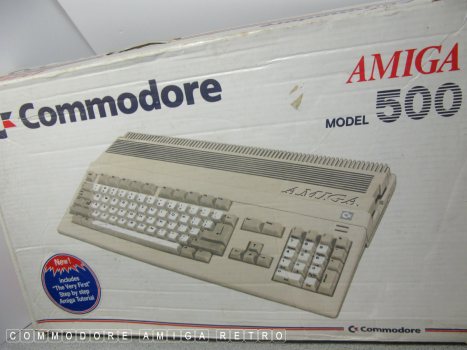
If your computer comes with a box then please
look after the box plus whatever you find inside.
The actual box makes the computer more valuable.
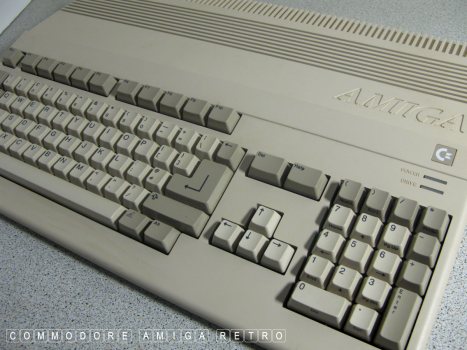
Yellowing of the computer occurs because the
special fire retardant treatment of the plastic
gravitates to the surface and discolours. By
chemically removing the surface of the Amiga
you will not stop the computer going yellow. In
many ways you risk damaging the computer so
best leave well alone.
A computer that isn't yellow is by pure chance.
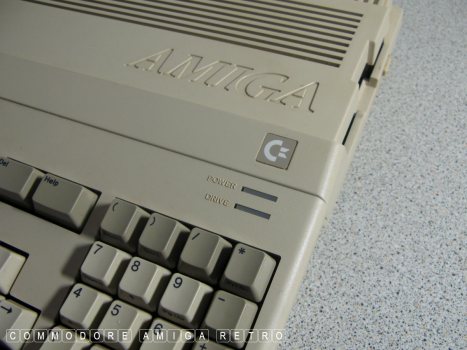
The A500 can be distinguished form the Plus
version by having just the 'square' chicken
lips badge and no wording on it.
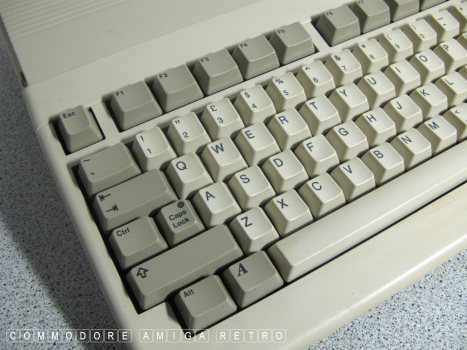
An early Amiga 500 will have have a 'C='
key instead of the left Amiga key.
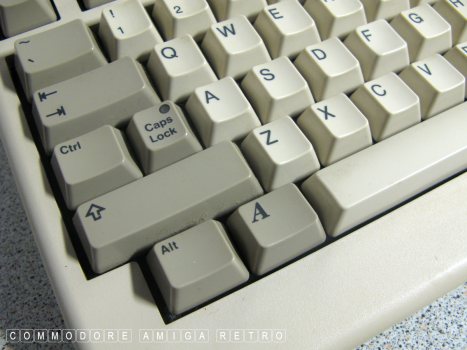
Pressing the Ctrl-Left Amiga and Right Amiga
resets the Amiga without switching of and on.
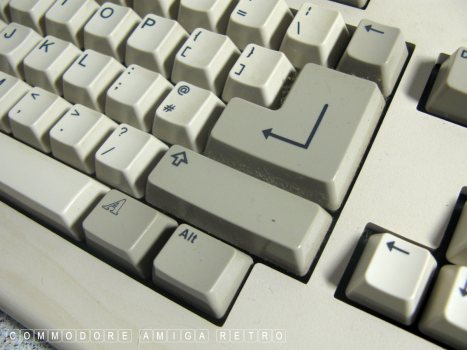
The right-Amiga key is the one in
an outline font.
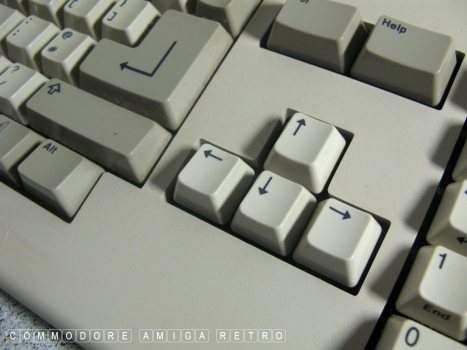
Using a combination of Amiga keys and
the Alt key plus cursor keys lets you
use the keyboard for mouse operations.
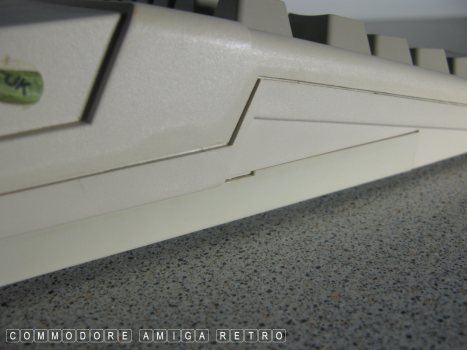
To the left of the A500 is the expansion
slot for connecting sidecar devices for
CD-ROM 570 and hard-drives like the A590.
The sidecars can also act as RAM expansions
and actual accelerators plus SCSI connectors.
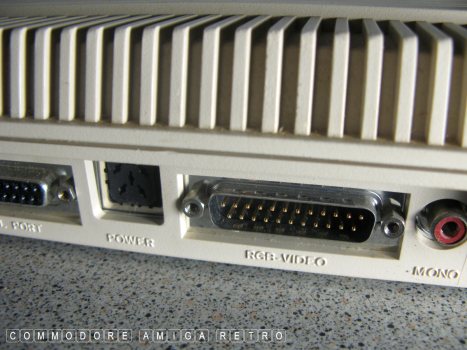
The composite port on the A500 is black and white.
The RGB is the most useful monitor connector.
It also can accept the A570 modulator for TV.
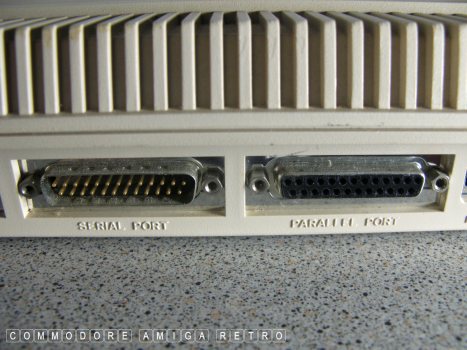
The serial and parallel allow the connection
of printers and the like.
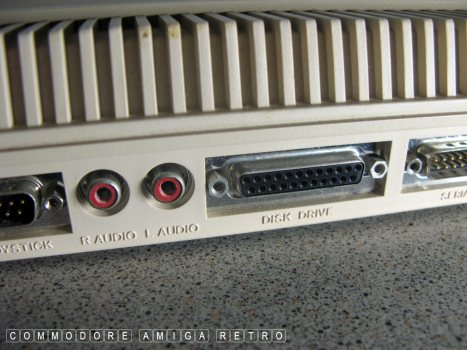
An essential first purchase for any A500 is
the external floppy drive. Avoids a lot
of disk swapping.
The sound connectors are annoyingly not
next to the RGB connector.
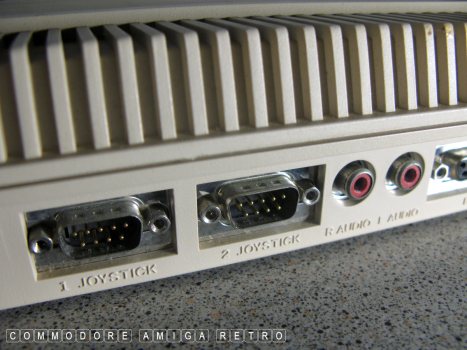
Mouse to the left and joystick to the right
Never get them mixed up and never ever connect
anything to any ports with the Amiga switched on.
Before buying an Amiga always ask the seller
to confirm that all pins to ports are in
place. Replacing them is a touch tricky.
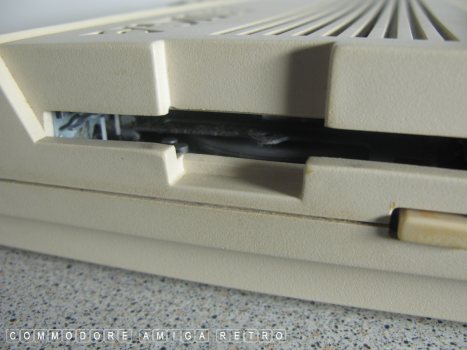
Keep DF0: or floppy drive covered when not
in use. Dust is a killer. Obtain at your
earliest a floppy disk cleaner that uses
a disk that you insert plus the fluid. A
dirty or damaged disk will render any drive
unusable and mean taking the thing apart.
Note the two pins on the left just inside
which should move freely.
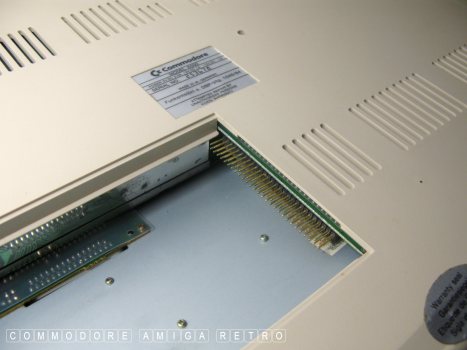
The trapdoor expansion is the best way to
add RAM to your computer. This will be what
is called Fast RAM and not CHIP RAM.
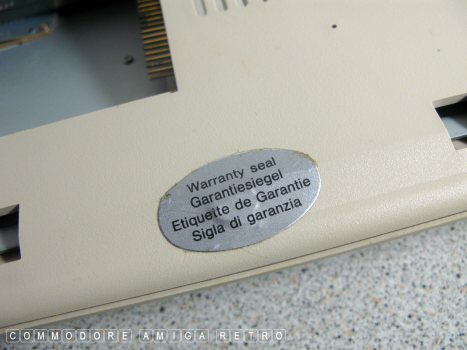
If the computer is sealed you have a dilemma.
Collectors will buy sealed Amigas for more money.
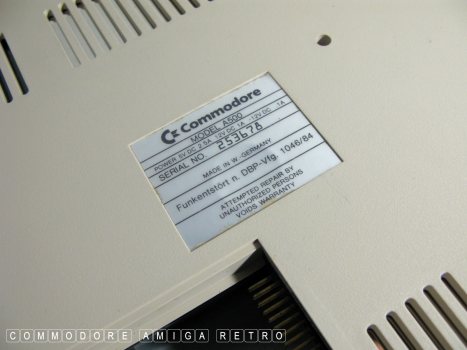
Your Amiga is unique. There is only one.
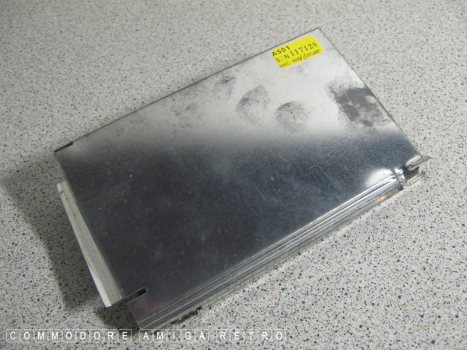
The Amiga comes with 512K CHIP RAM. This
is RAM used exclusively by the custom chips.
Additional RAM up to 2MB can be added but
this will be FAST RAM and directed toward
the CPU. Many functions on the machine benefit
from CHIP RAM. The later boards ie Rev 6A have
the 1MB AGNUS chip fitted plus 4 spare memory
slots. It is possible with some work to the
motherboard to add CHIP RAM. But it isn't easy.
To compensate for the lack of RAM Commodore
shipped the A501 complete with battery backed
up clock with a barrel battery. The board was
sealed in this metal case.
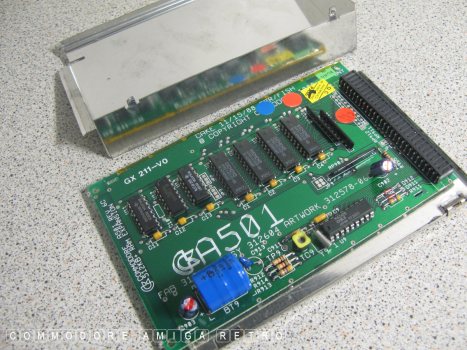
The A501 battery leaks badly over time.
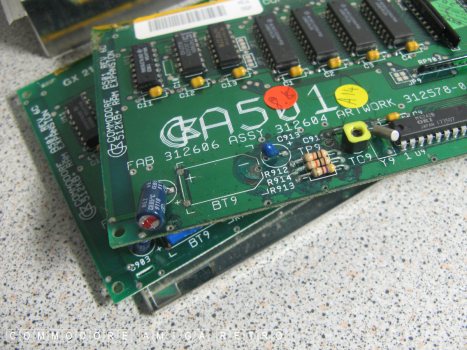
Leaking will destroy the card.
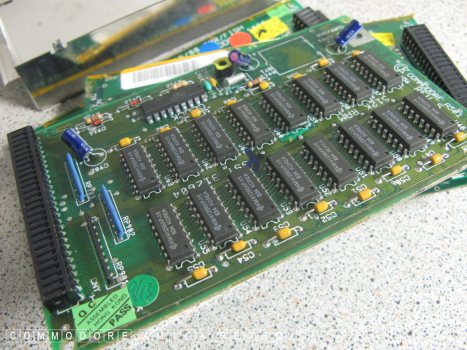
The A501 came in a number of revisions. It
also came without the silver case. Commodore
released the A-500 Plus with the extra memory
and the battery incorporated onto the motherboard.
Sadly this meant the battery leaking onto the
board and in time killing the computer.
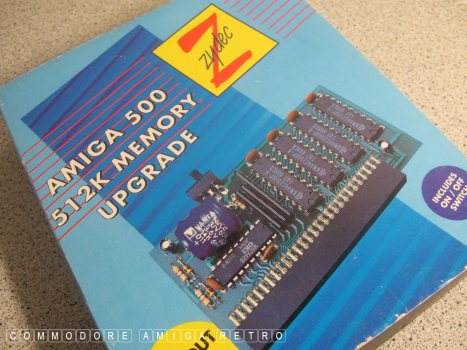
A number of third party RAM expansions were sold.
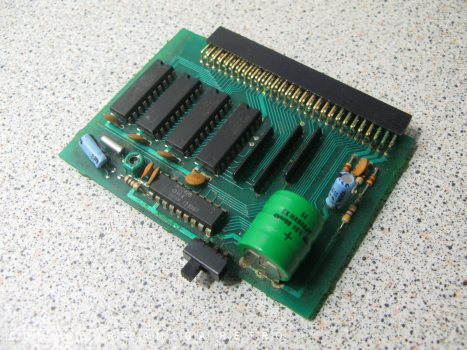
Some included the battery.
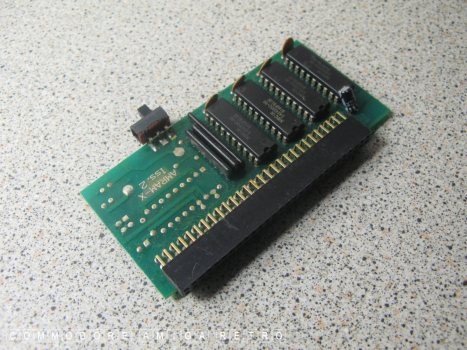
And some did not. The switch simply
switches the memory on and off.
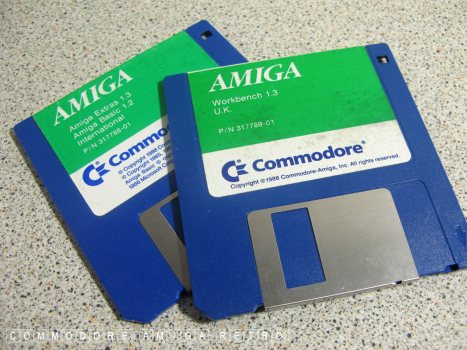
The Amiga originally came with 1.2WB
and the 1.2 Kickstart ROM. The ROM can
be upgraded to the 1.3. Interestingly
the 1.3 Workbench will run on the 1.2
Kickstart ROM.
Workbench works just from the one disk.
The Extras disk is just that.. Extras.
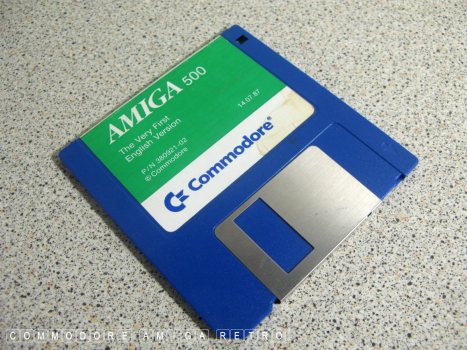
Beware ' The Very First ' is not a WB disk.
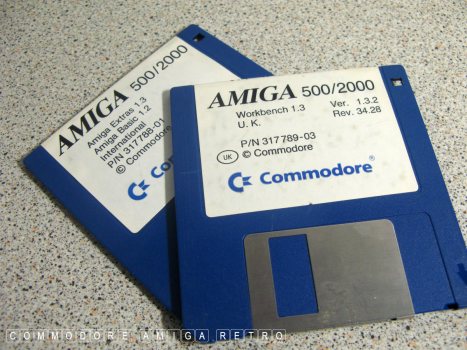
The A500 was running in parallel with the
Amiga 2000 that uses the same Workbench.
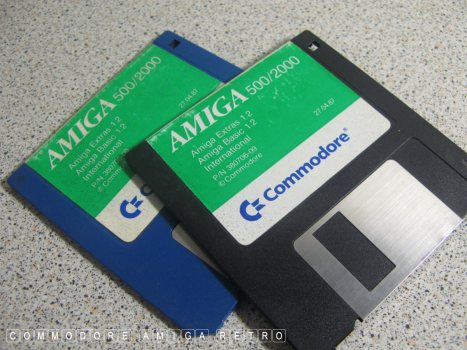
Workbench 1.2 is used primarily for those
wanting to play older games. It really is
inferior to 1.3 as it does not have the
same functionality such as the SHELL.
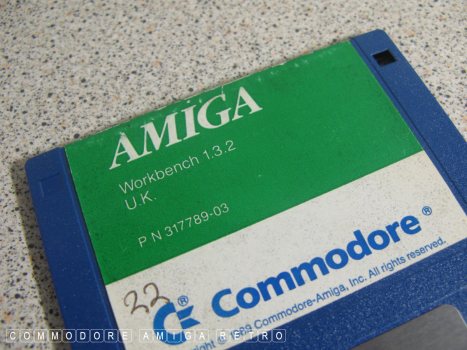
Workbench 1.3 was also later revised.
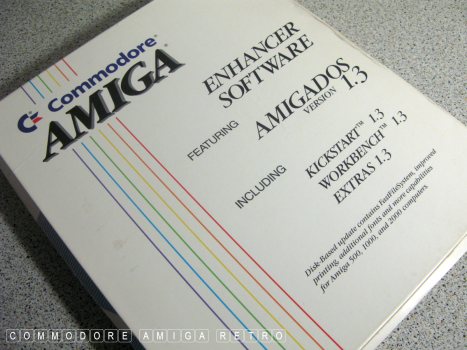
1.3 Workbench was sold as an enhancement
upgrading the 1.2 Workbench. It came with
its own software documentation.
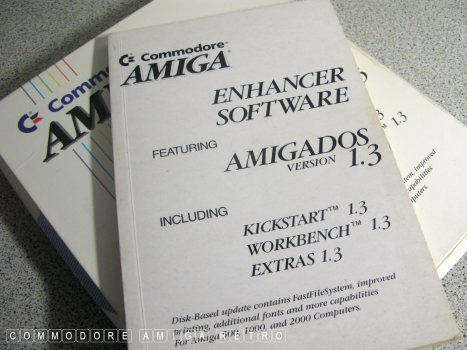
Important here is the AMIGADOS 1.3 book.
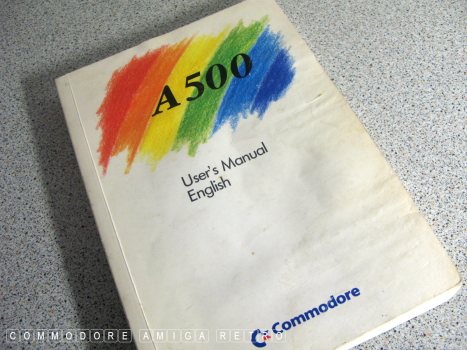
This is not the same as the A500 manual.
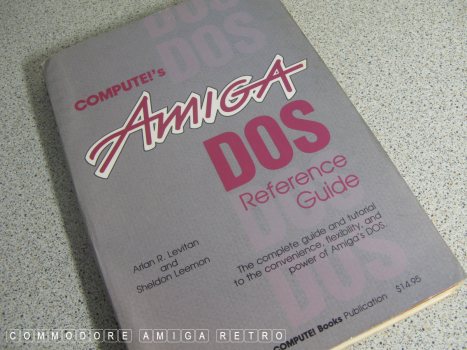
Better is to buy an AmigaDOS book.
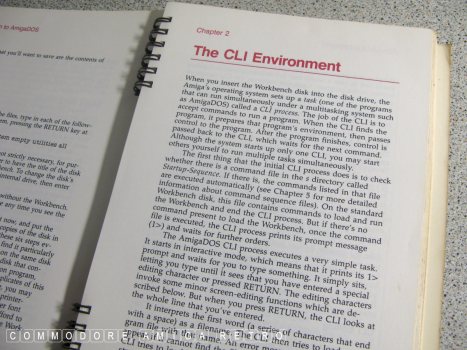
Understanding the CLI environment and
the use of the SHELL or Command Line
Interface is very important when using 1.3.
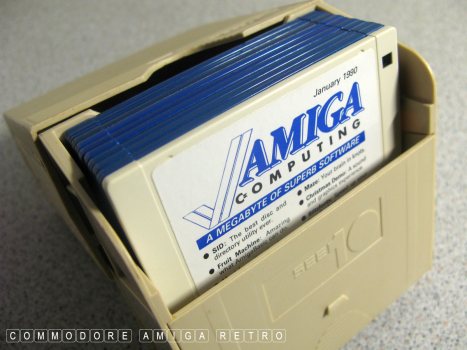
You don't need a Workbench disk to boot an
A500. You can use an early cover disk such
as those provided by Amiga Computing which
boots into its own Workbench including CLI.
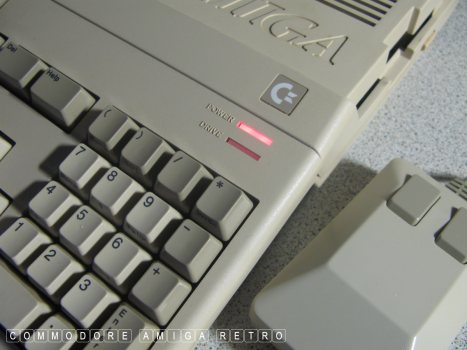
Early Amigas have a red power light.
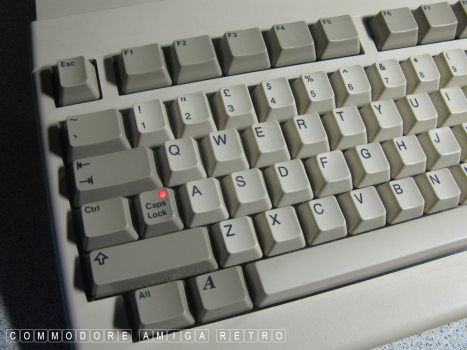
They also have a red 'Caps Lock' light.
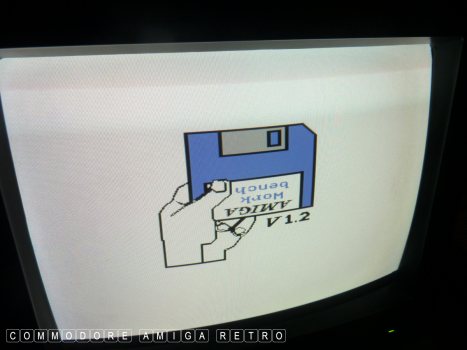
This to me would probably suggest Kickstart 1.2.
With 1.2 probably comes an older Rev 5 mobo
and no 1MB Agnus and no empty memory slots.
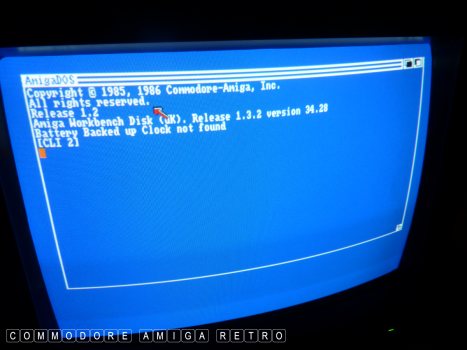
It will run Workbench 1.3. But for me I would
be wanting to upgrade this machine with the
1.3 ROM chip as soon as possible.
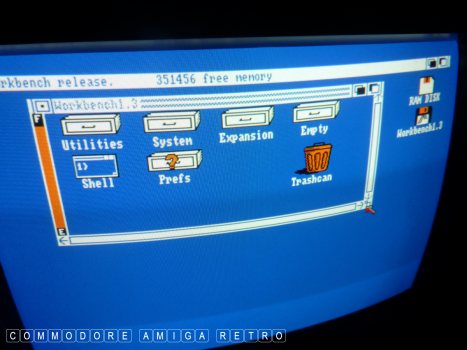
There is no facility under 1.2 or 1.3 to
show hidden directories and tools on
Workbench / drawer screen.
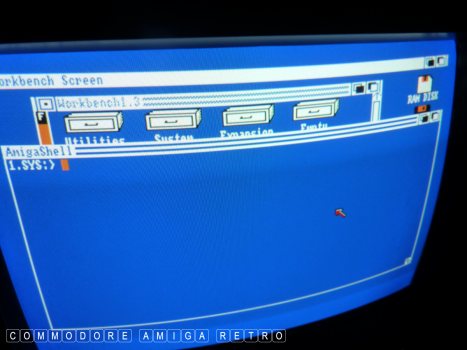
So click on the 'Shell' and expand the
window using the right corner gadget.
And then type in 'dir' and 'return'
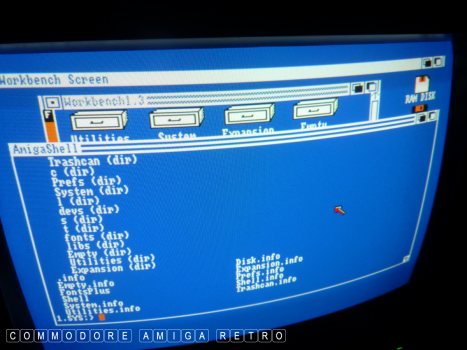
You will now be shown the full directory
listing including drawers and files without
an 'info' file. Only those items that have
a matching 'info' file will be shown on
the Workbench.
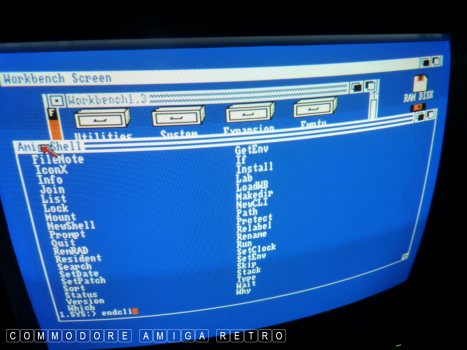
If you do a 'dir' of the 'C' drawer you will
see all the AmigaDOS commands that drive the
computer. Understanding these will be key
to using the Amiga. So having a working
knowledge of the Shell [ CLI ] is very important.
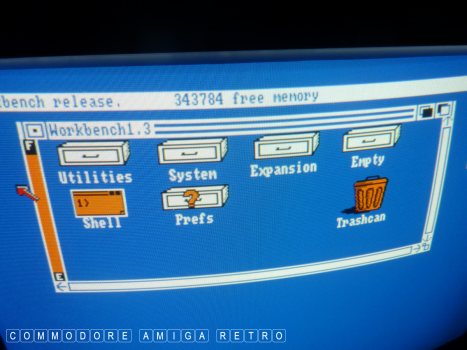
OK just 343784 free memory. Lets change that.
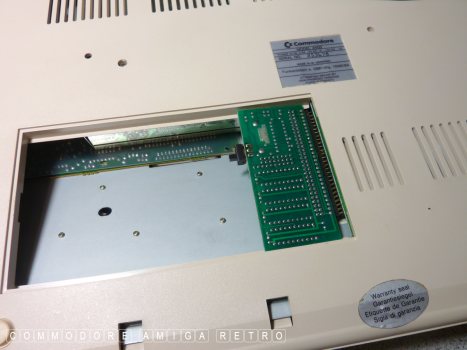
Switch off, unplug and add card.
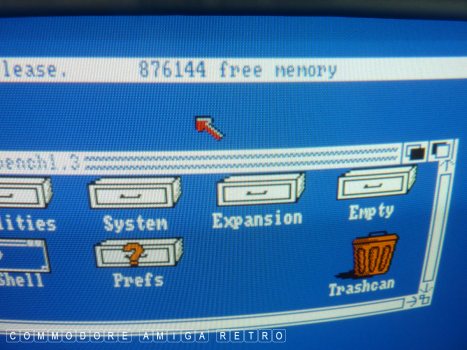
And now we have 876144 free memory.
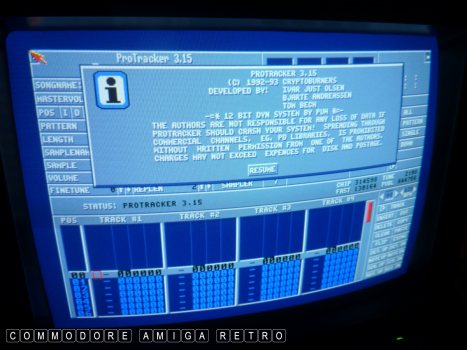
Time to play around with Pro-Tracker.
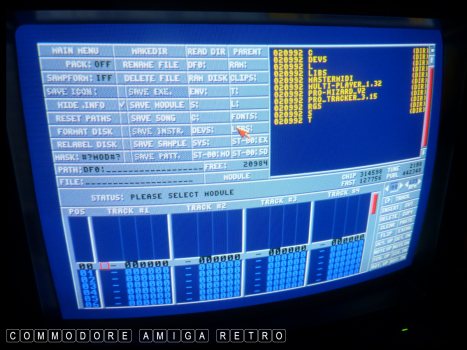
Probably better getting an earlier version
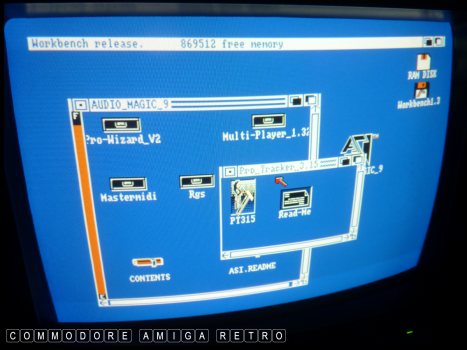
There were a lot of Tracker programs
so hunt around and get one that works
best with your memory available.
Have fun.


![]()


![]()