Amiga 1200 salvage - Lux like I solved it.
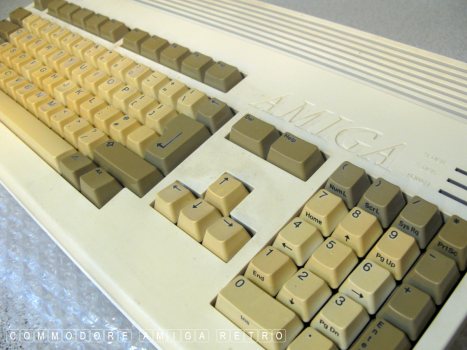
Time to put this baby to bed.
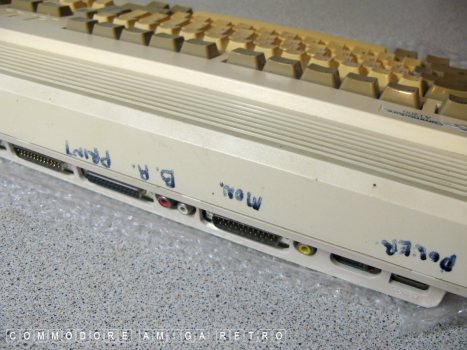
I need to replace the top cover.
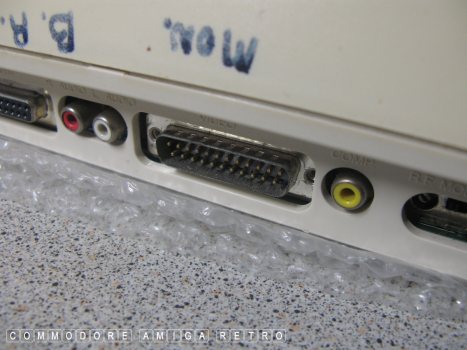
And get the port screws and shielding reinstated.
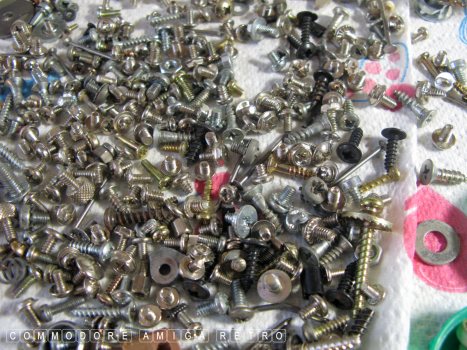
Nothing like a good screw.... STOP IT !
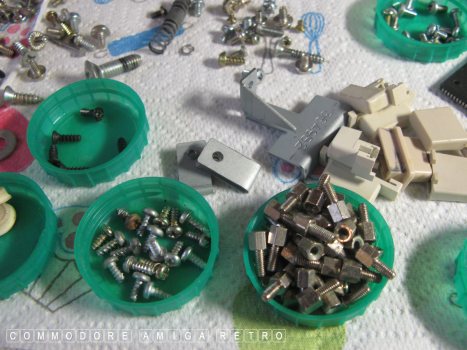
I went through my stock of bits and
put together the needed parts.
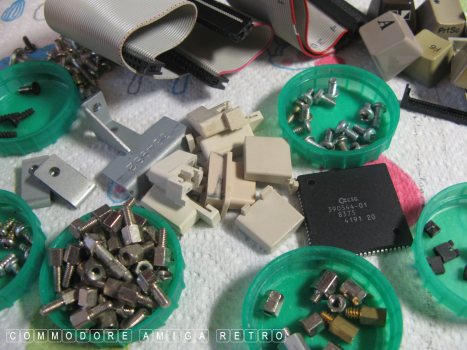
It really does pay to never throw any
computer bits and pieces away.
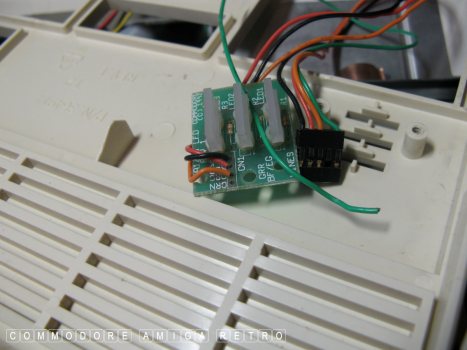
That ground cable needs isolating.
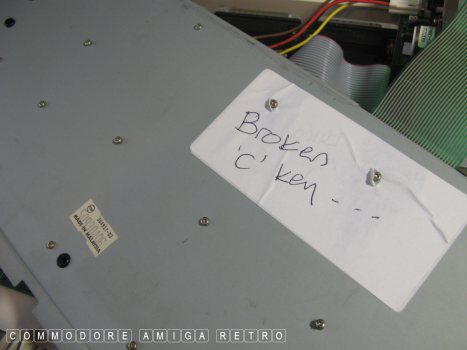
Maybe check over the broken keyboard.
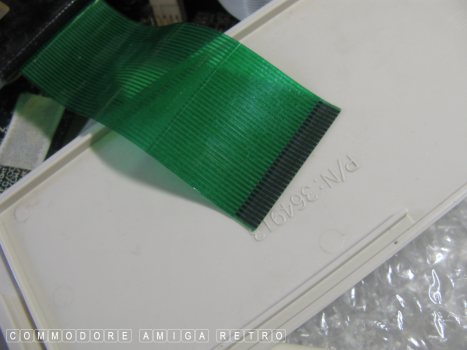
Lightly abrading the ribbon connector helps.
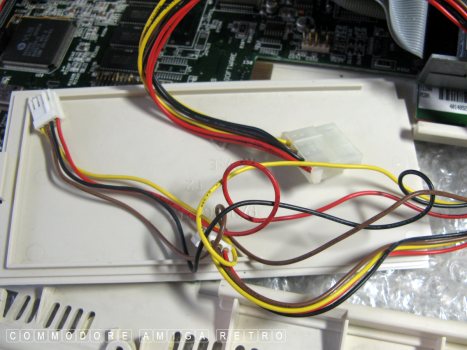
Also check over the continuity on cables.
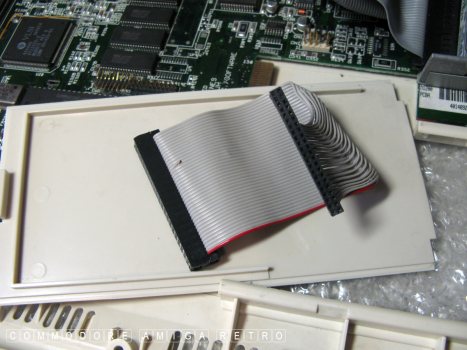
This ribbon adapts a 2.5" connector
to use a 3.5" hard drive.
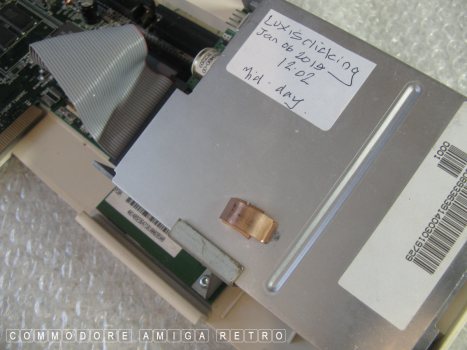
I still have hope for the floppy and
will attempt some further work. She
is being recognised by the Amiga.
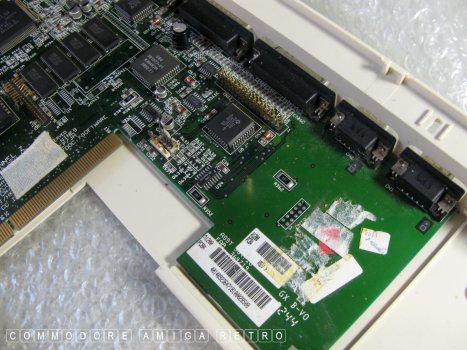
Remnants of a previous life me thinks.
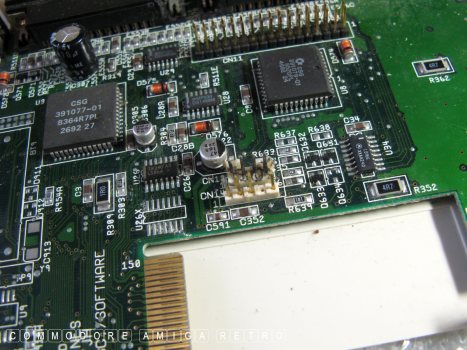
That mangled power supply looks familiar.
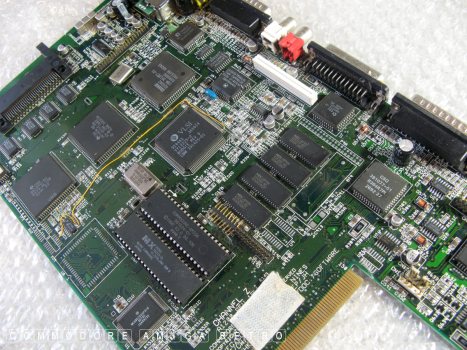
Time to clean the motherboard.
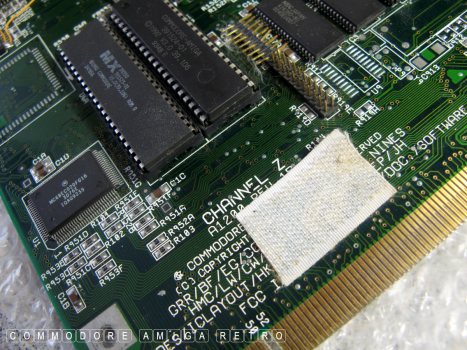
The 'Velcro' did have a power flyer attached.
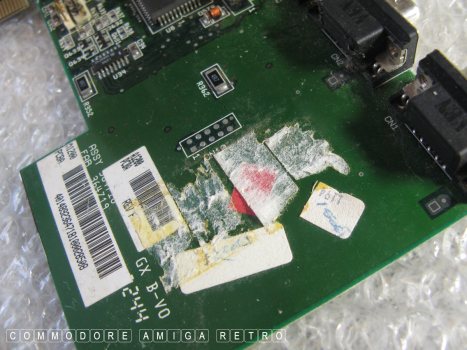
And this may have housed a buffered interface.
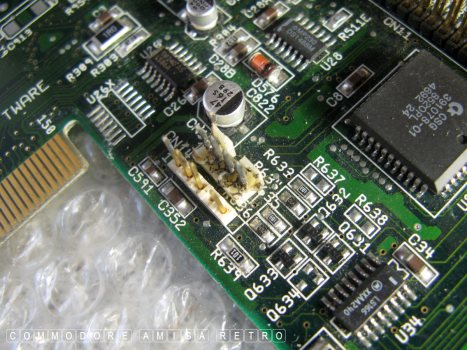
The power connector is missing the back plate.
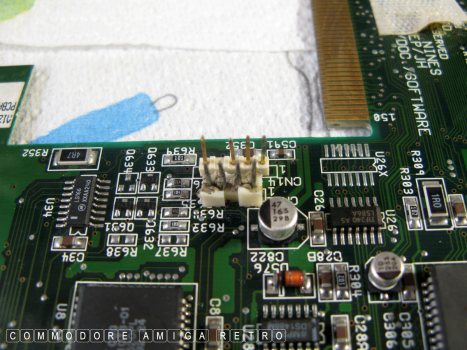
Its top surface has been hacked or burnt.
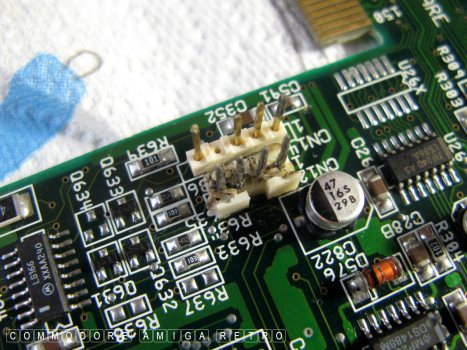
The plastic top surface is cut and brown.
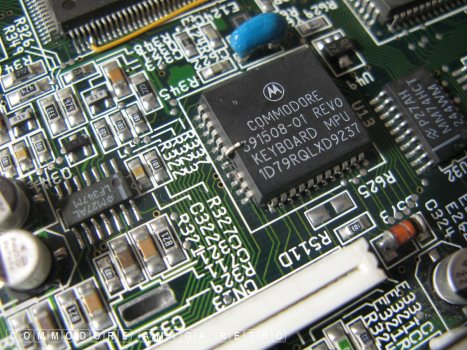
B I N G O
This a keyboard hack so that the
computer can use an external keyboard.
And that is why the keyboard isn't working.
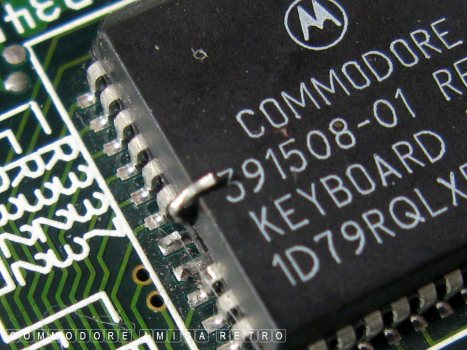
No accident but deliberate.
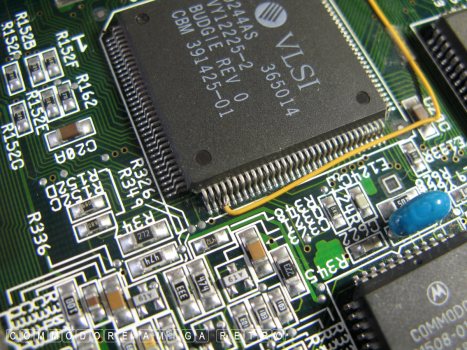
This is an official Commodore mod.
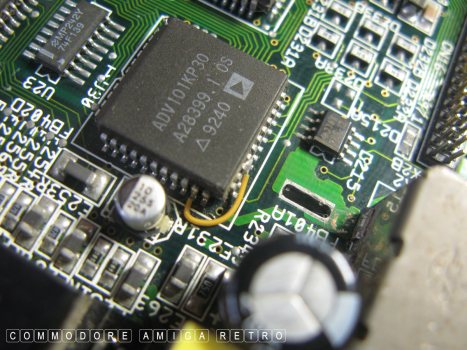
This is an official mod. Without it
the computer will not boot. Trust me.
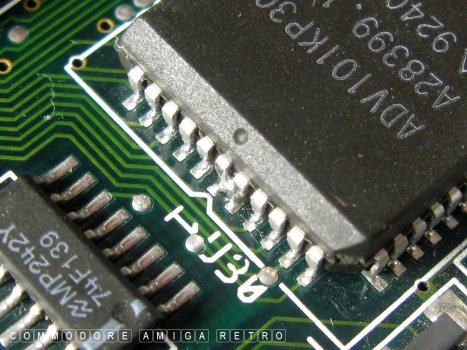
And these pins have been soldered
together by Commodore before shipping.
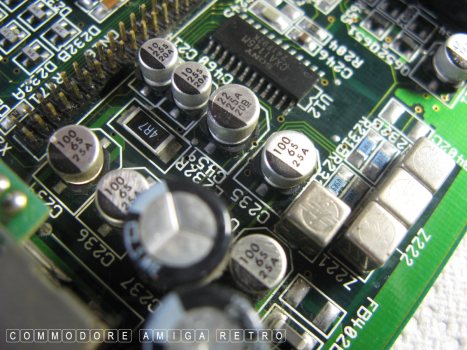
Checks for capacitor lurgy. None present.
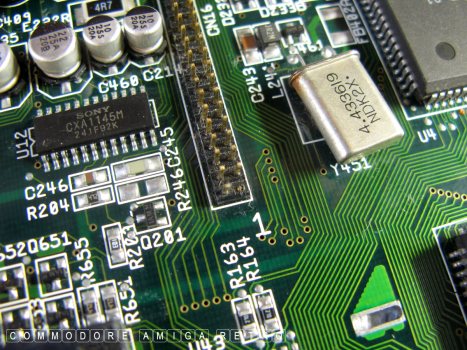
The removal of pin 1 is to enable the
use of some drives like the Conner type.
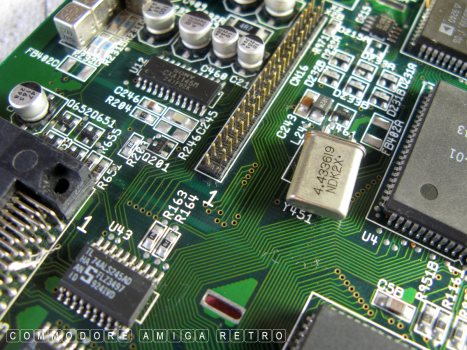
Pin 1 is the RESET pin.
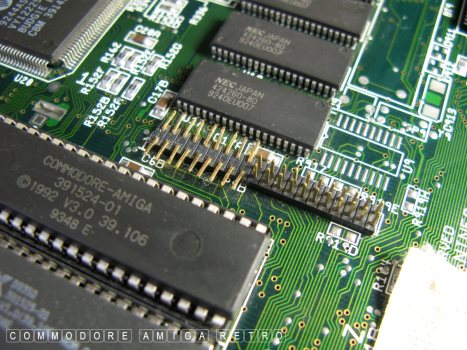
Interestingly on later boards these
clock pins were actually removed.. They
get in the way when using some cards.
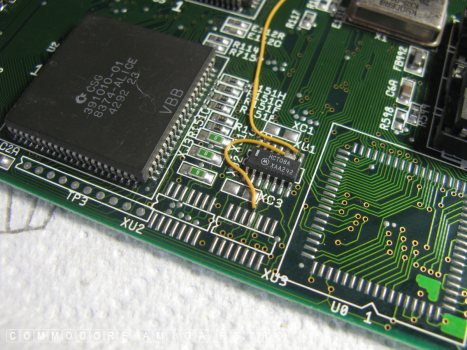
Another official Commodore mod.
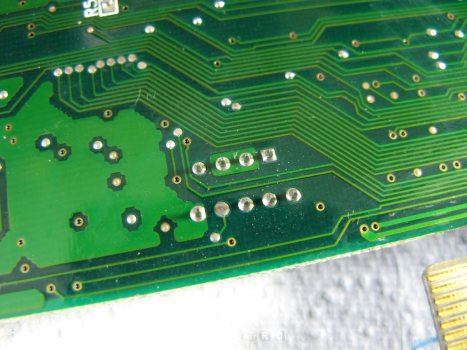
The rear of the power connector looks fine.
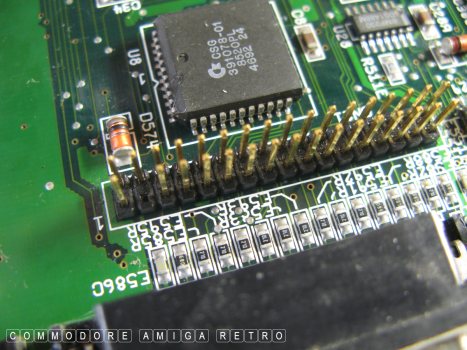
The absent pin from the floppy is as designed.
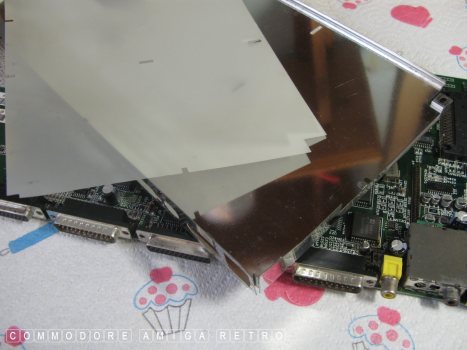
Time to replace the bottom shield and liner.
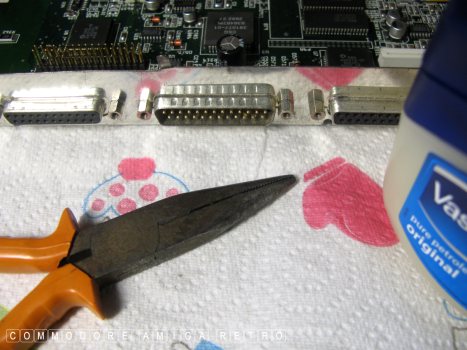
Use a bit of Vaseline on stubborn screws.
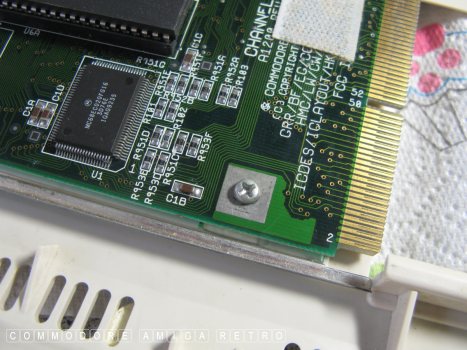
Replace all missing screws to motherboard.
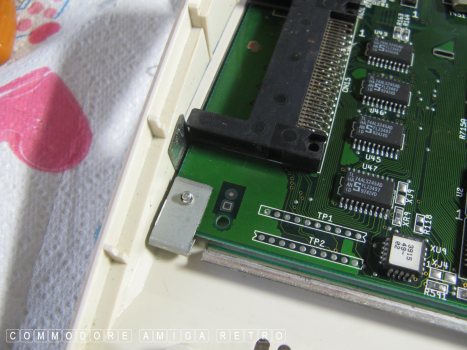
This one screws from below.
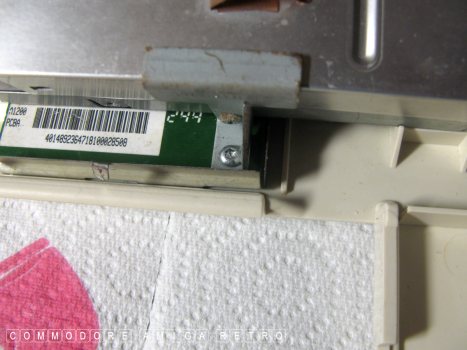
And this also secures the floppy drive.
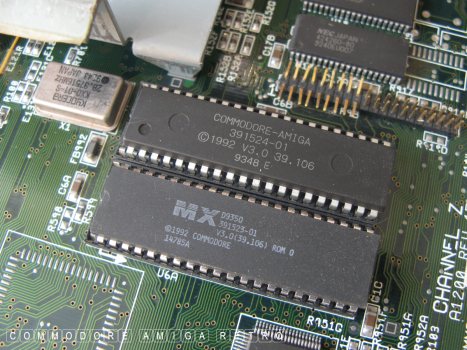
The lower ROM for 3.0 is 391523 and
the top one needs to be 391524 irrespective
of any other wording on the chips.
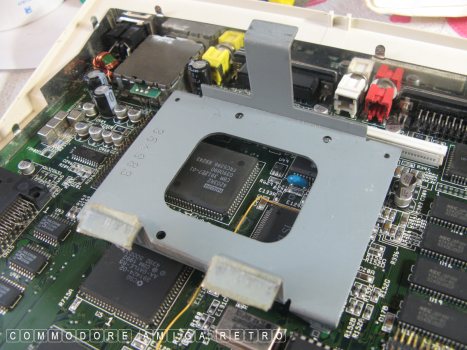
Always put the cradle back in. It
helps support the keyboard.
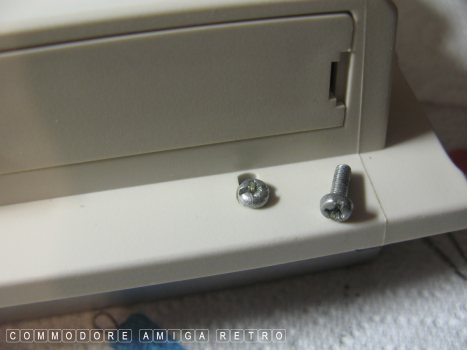
The screws to the floppy drive are not
of the self tapping type as the case screws.
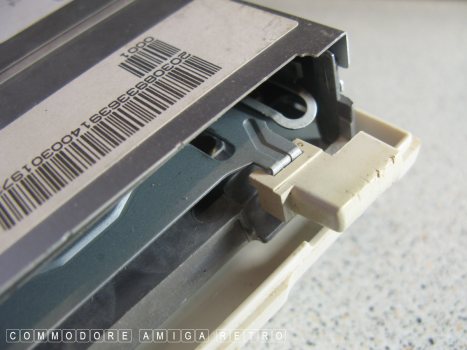
Found an old battered floppy button that
suited the make and type of floppy. Cool.
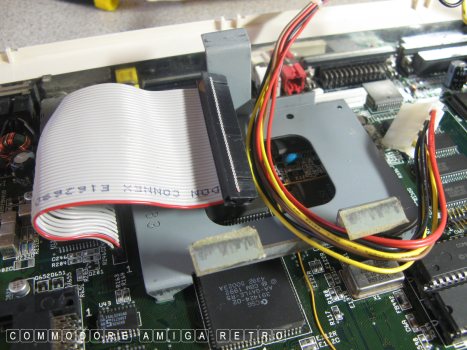
Wires and ribbon check for faults.
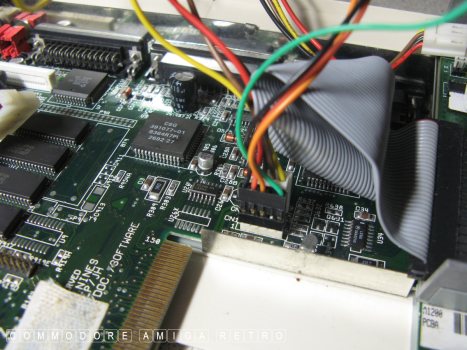
Power connectors reinstated.
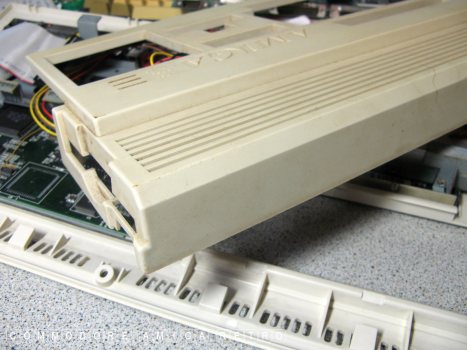
Time to freshen up the replacement
top case without the graffiti.
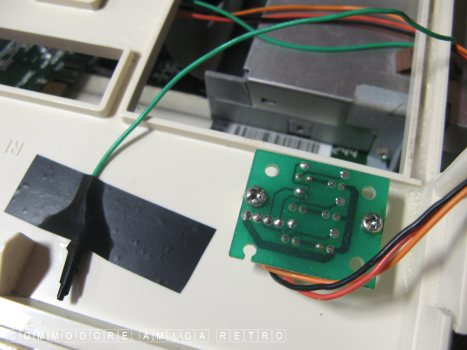
Isolate the LED ground till I can
find a new one or repair.
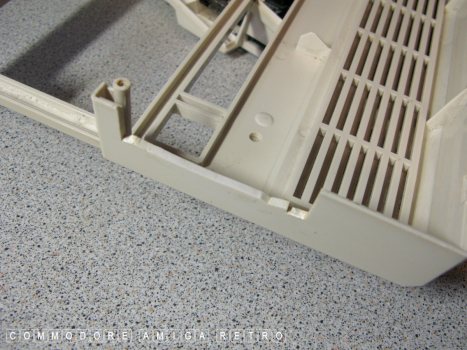
This case is the original top that I
found in the loft. Been up there since
2002. The guy had hacked a port into
the side ... Very badly. My heart sinks.
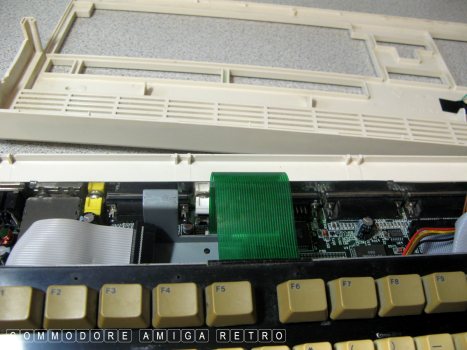
Keyboard reinstated.
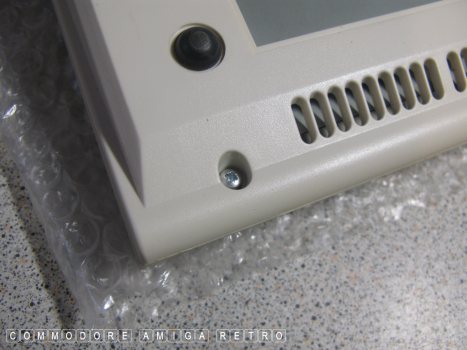
Correct case screws used.
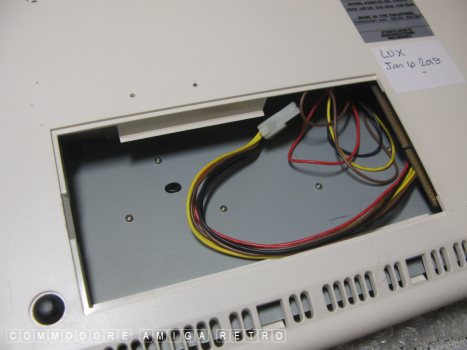
Make sure cables are showing in trap door.
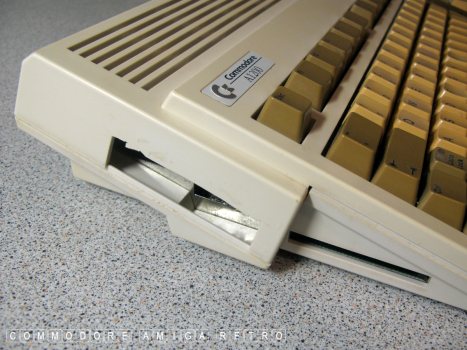
That maybe a bit of an eye-sore but
it validates the computer and makes
me think about its history and life.
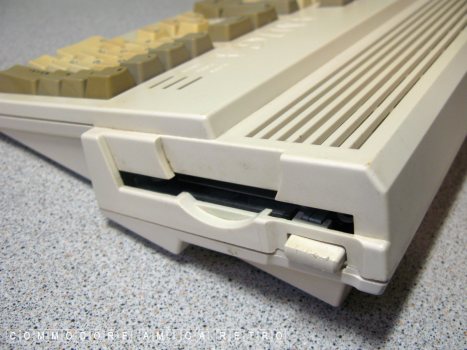
Floppy drive all back in one piece.
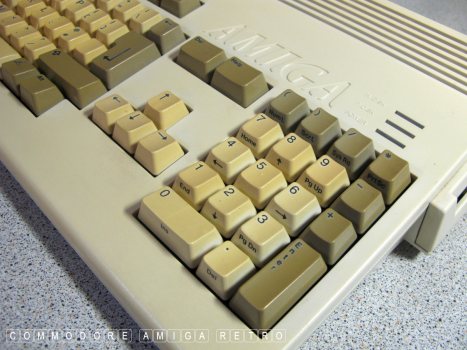
And she is all back together.
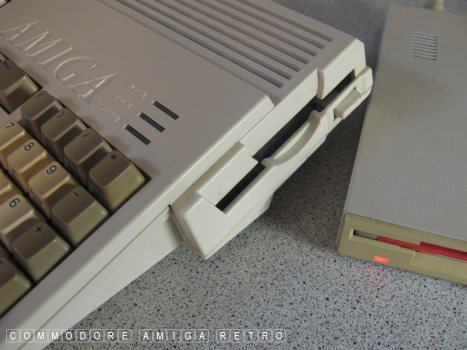
And still working albeit booting
from the external floppy drive.
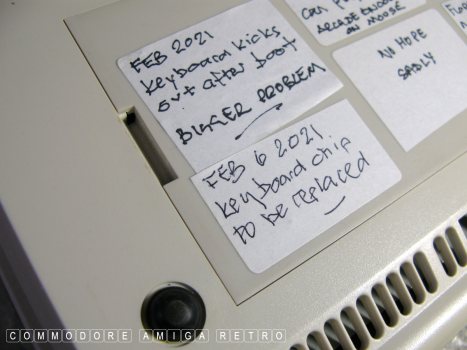
She will work in the tower so at some
point I can simply swap the motherboards.
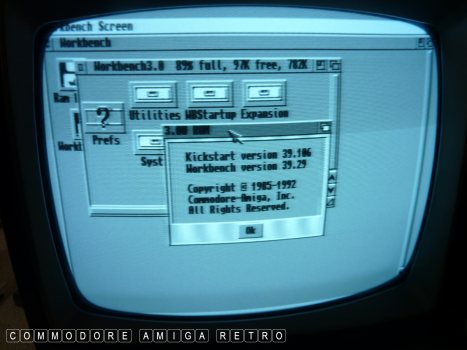
Images from the RF to a TV confirm
that she is truly working.
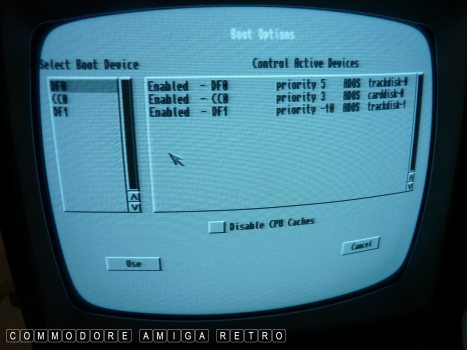
Although the keyboard does not work the
computer still responds to CTRL-Left/Right Amiga.
And DF0 although broken is still recognised.
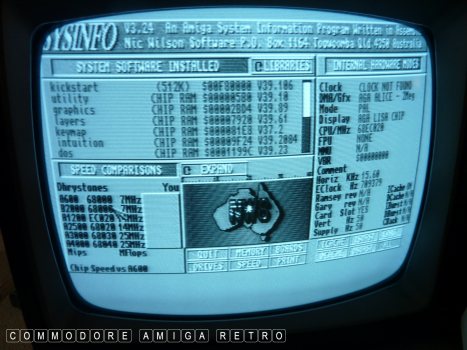
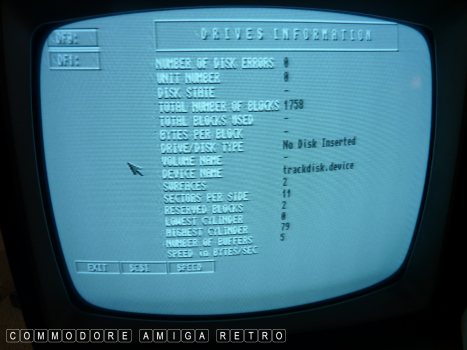
Both drives are showing.
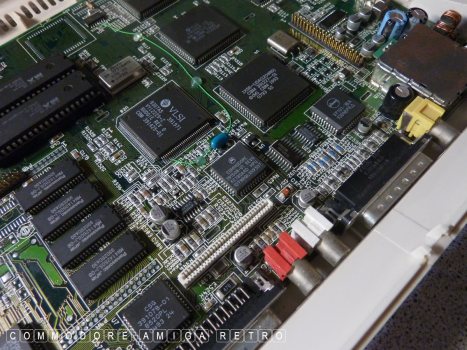
I also have spare boards with good chips.
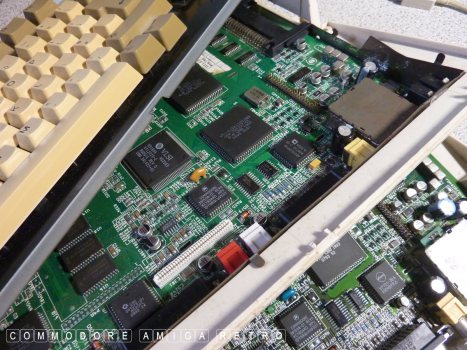
Must have at least four boards in store
plus broken and salvaged keyboards.
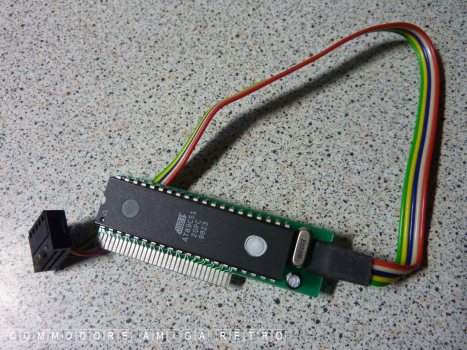
This is a keyboard adaptor though
missing the end bit. It's around somewhere.
Not much use in this instance.
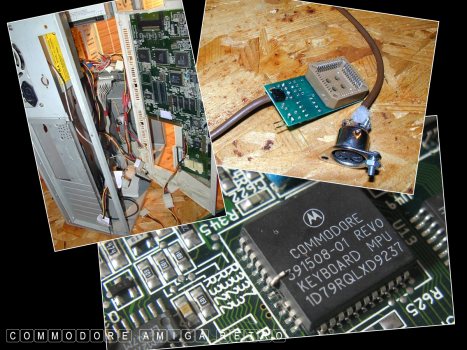
Picture of the original tower and the
Velcro gives away its identity. Plus the
the keyboard adaptor for the tower and
that keyboard hack that rendered LUX's
keyboard useless... Boo hoo !!
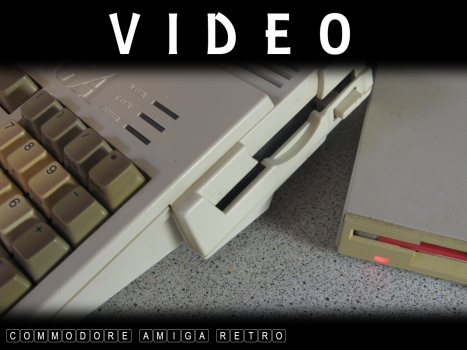
So watch LUX fire up under her own power.
Sadly no LED but you can hear her internal
floppy drive clicking at the end. So she is
alive and clicking.... as any Amiga should.
So what era are you from?
All done... Happy days.
And Finally
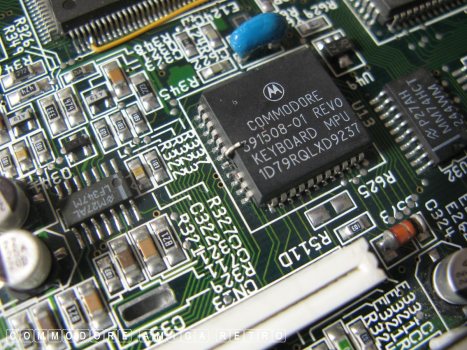
That bloody keyboard hack that rendered LUX useless.
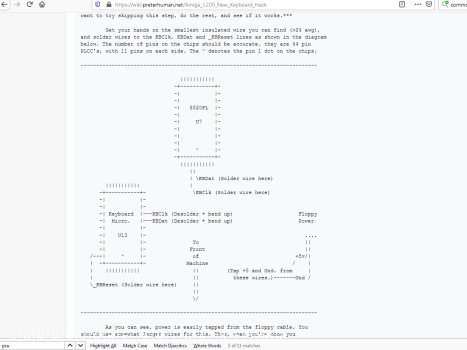
I found the culprit and it has a detailed
guide on ...Amiga 1200 New Keyboard Hack
Thanks for nothing... Poor LUX.


![]()


