Transferring PC files to an Amiga 500.
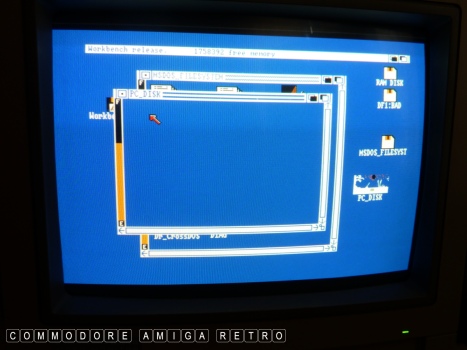
At close of play yesterday I had worked
out how to run the MS-DOS file system on
a WB 1.3 based system but sadly I couldn't
see any of the files.
Please see yesterdays blog regarding the
transfer of PC files using a HD floppy disk.
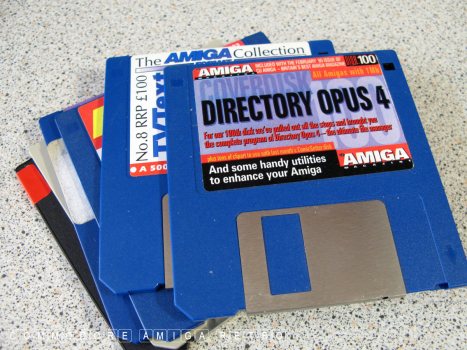
So what do we need. A proper file manager.
Grabs Dopus4 which came with CUAmiga cover
Disk 100. The disk has a decrunch tool so
you should be able to create a DOpus disk.
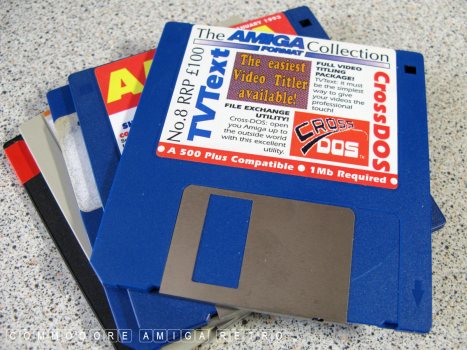
You will need the CrossDOS tool that came
on The Amiga Collection No 8 as this is a
version that works with pre release 2.0 WB.
Versions such as the latest 7.0 do not work.
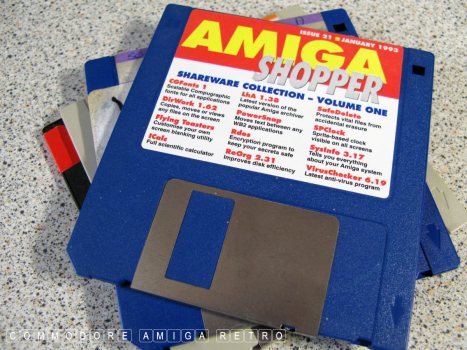
You also need an earlier version of LhA
and the one on Amiga Shopper Jan 93 was
the last bug fixed version before Release 2.0
of the Amiga WB.
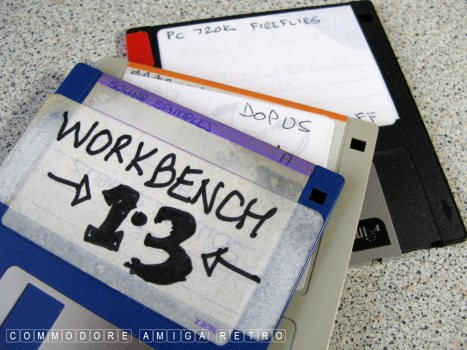
And also you need a trash version of WB1.3
that you don't mind editing to suit.
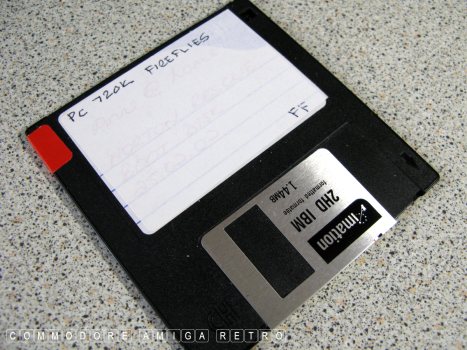
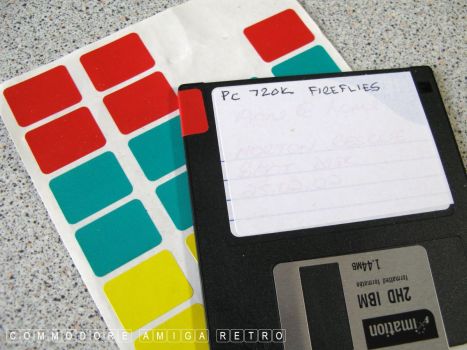
Last disk is the disk we created yesterday
on the Win98 machine which in addition to
the Fireflies game I added a couple of
LhA files such as SysInfo to test.
This disk is in MS-DOS PC format. I called it PC Disk.
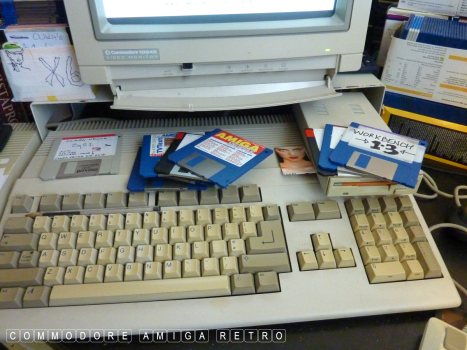
Meet Clara, my beloved A500 with A590 sidecar.
We are not using the sidecar but I have fitted
a second floppy drive, though not essential.
Man does this machine get hammered.
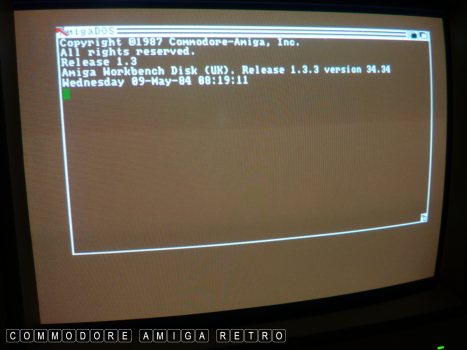
First thing is boot to your WB1.3 on
the disk we are going to hack and slash.
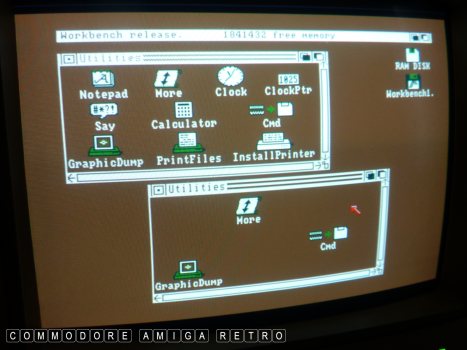
The top window is what should be in the
1.3 Utilities drawer and the lower window
shows what I deleted to make way for the
LhA tool which goes in your C drawer. You
add LhA using DOpus which I explain in a while.
The icons shown in the bottom are the
ones I didn't delete. Not that it matters.
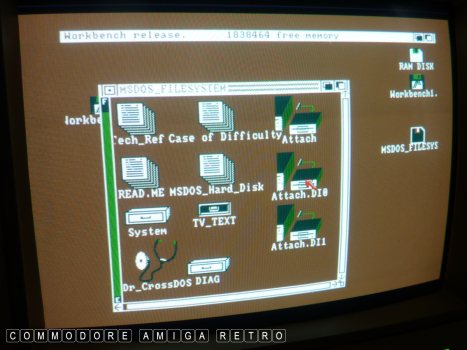
Next up insert the CrossDOS tool to DF0:
and launch Attach.DI0 which enables the
floppy drive to read PC disks. Clever stuff.
Please note that while we do this DF0 will
also be used for Amiga disks. The drive can
now read both formats. EVEN CLEVEREERERR stuff!!
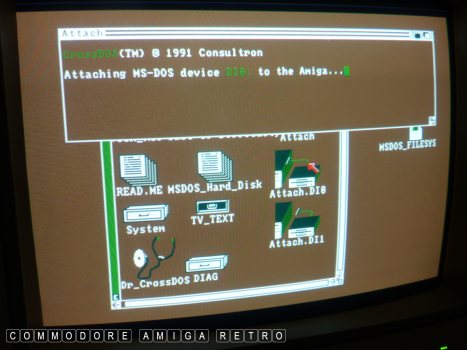
The Amiga 500 tells you when the drive is mounted.
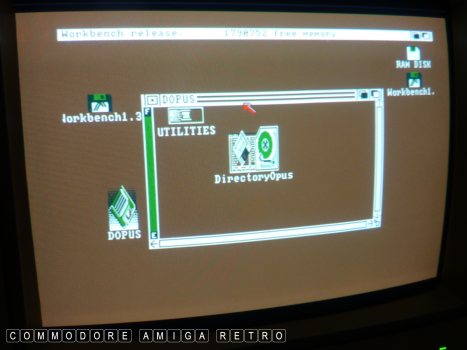
OK next to DOpus which I ran from my external
floppy drive to make it easier. First up I copied
the LhA from Amiga Shopper to the C drawer of
my Workbench 1.3 disk.
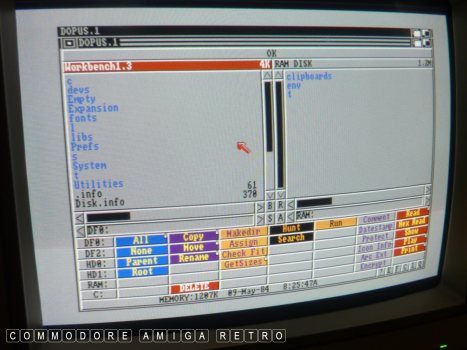
DOpus is very easy to use ....... just consider
the two upper panes as left and right windows
that you have open to move and copy stuff from
one to the other. The bottom left buttons are
your drives which you cycle thro using the
right hand mouse.
Find the menus at the top of the screen .
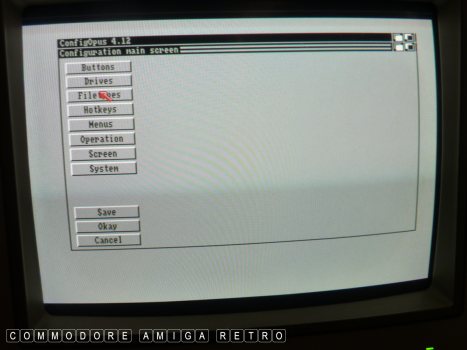
We need to configure DOpus to read the PC drive.
Click the menus at the top of the screen and
in the first menu select CONFIGURE. Then click
DRIVES as we need to set up a drive.
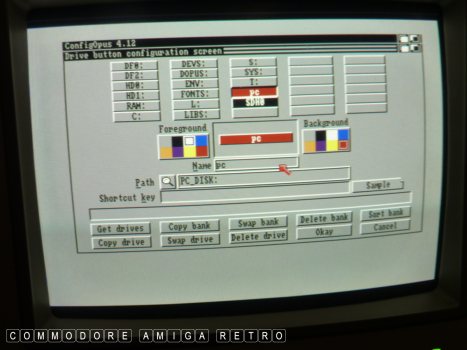
Click one of those empty buttons and name
it say PC. Remember to hit the return to
make it display in the above button slot.
Clicking the right colour is background
and left is text colour.
Next we need to insert the PC disk in the
drive in DF0 and wait for it to load. You
may get an alert message from WB1.3 which you
cancel. If it throws you back to the WB screen
use the top right radio cycle button to take
you back to DOpus.
Next click the search spyglass next to the PATH
button and that takes you to a File Selector.
Click drives and search through till you find
your PC Disk or what ever it's name in DI0.
Note that DI0 is the PC drive letter.
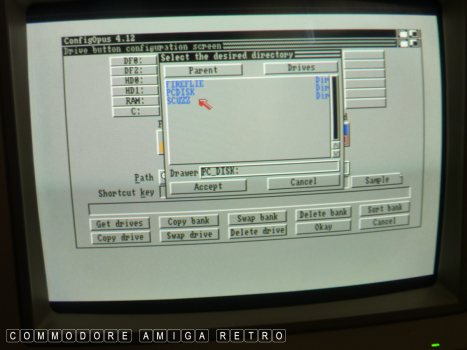
Simply accept the drive when you find it
and click Okay to the overall window and
then save and return your Config file to
get back to DOpus.
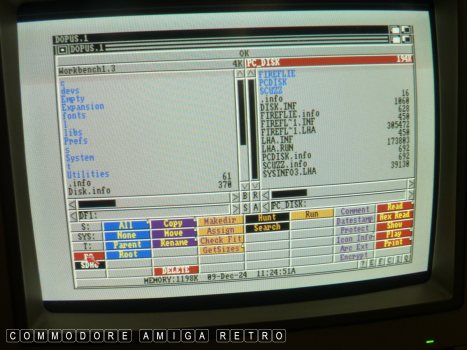
Your button or new drive will not be visible
when you return. Just right click anywhere
in those bottom left buttons and you will cycle
through the banks of buttons till you find
your 'pc' button.
Which ever pane above is highlighted red will
be the location where your disk will be shown
So right hand pane highlighted, click 'pc' and
like magic the contents of the disk are seen.
If you recall they were invisible from WB.
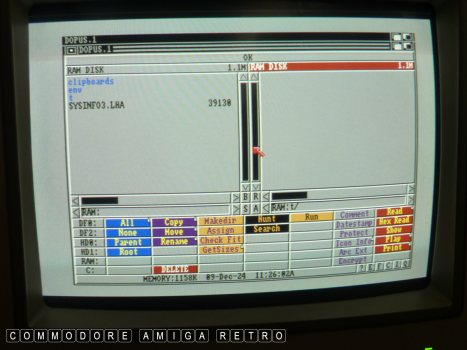
Time for a test. So I copied SYSINFO.LHA
from the PC disk to RAM on left and then
clicked the right pane to RAM t/. This means
what ever I do in the left pane to a file
goes into the right pane..
Note that Dopus has all the usual commands
on buttons like copy, rename, delete etc.
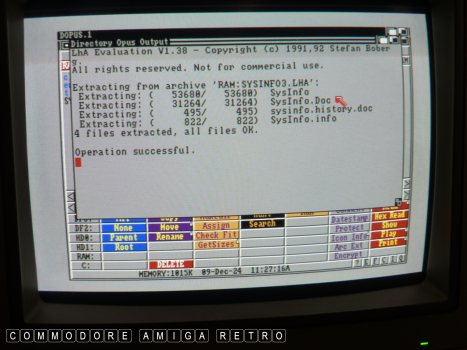
I now click the 'Arc Ext' button bottom right
with the SYSINFO file highlighted and DOpus
like magic unarchives the file for you.
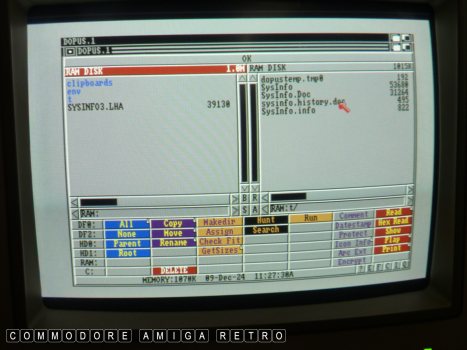
The unarchived files goes into the right
pane and as they are now Amiga files
the Workbench can see them.
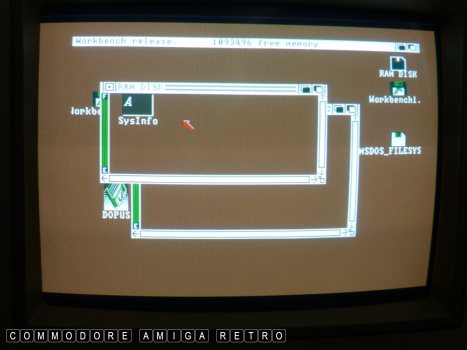
Click the top right radio button to cycle
to the WB screen and click RAM and there
is the SysInfo icon.
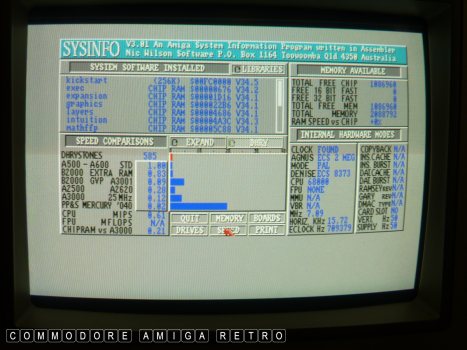
Which works. Cool.
Close SysInfo and cycle the top right radio
button to take you back to DOpus.

Click your 'pc' button and change the name
of the PC file from FIREFL~1 to an eight
letter word that 1.3 can understand. The
'~' is not an acceptable file character
for this earlier version of LhA.
Also remember you are on the PC disk so
be cool with eight characters. 'FireFlie'.
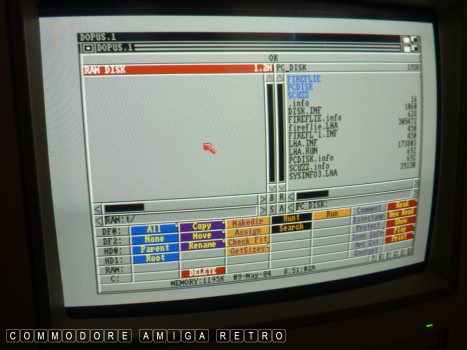
Now place a clean floppy disk in DF0 and
when you get the alert from DOPus tell
it to display in the left pane.
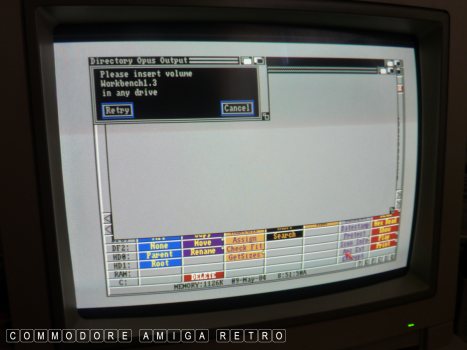
Then highlight the 'fireflie.lha' file
and click the 'Arc Ext' button again.
Expect the WB1.3 requester cus the
LhA tool is on there. Do the disk swapping
using either drive. The Amiga will handle
what disk is where.
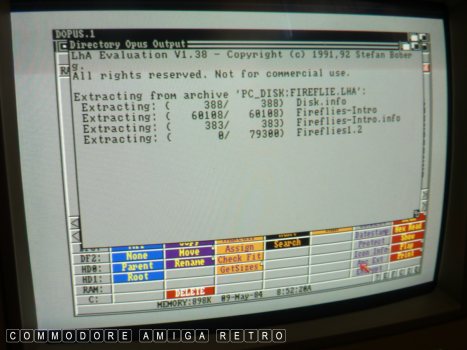
Watch as the LhA decrunch process unarchives
the LhA file from the PC disk to an Amiga
floppy disk. How cool is that.
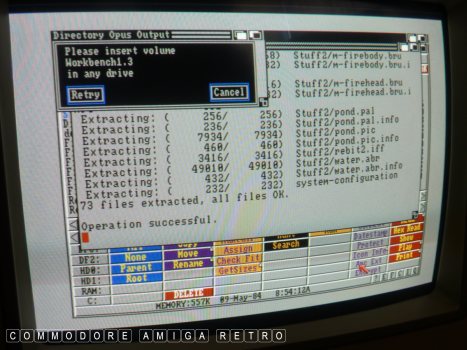
To complete the process swap disks again.
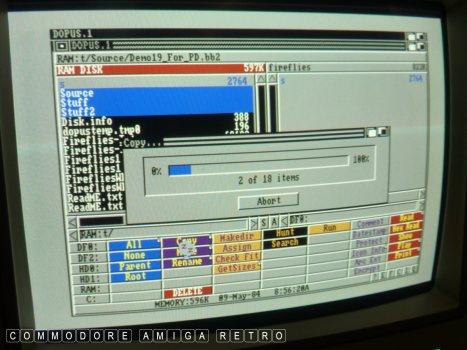
To ease disk swapping I generally decompress
to RAM and then copy to the Amiga floppy.
either way works.

And now we have a fireflies disk with all
those files from the Aminet archive from the
internet that you downloaded.
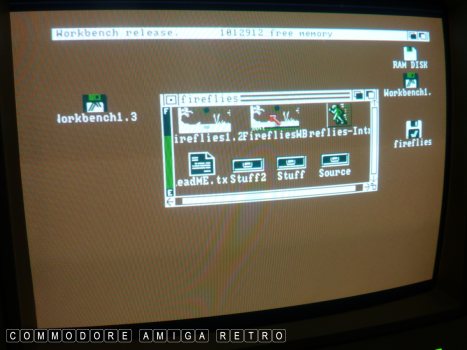
Close DOpus and click the 'fireflies' icon.
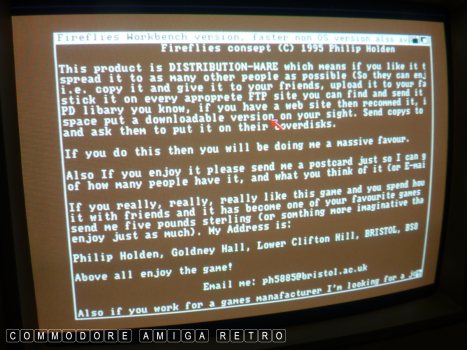
And the game works.

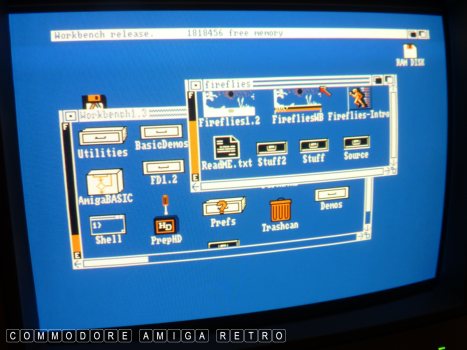
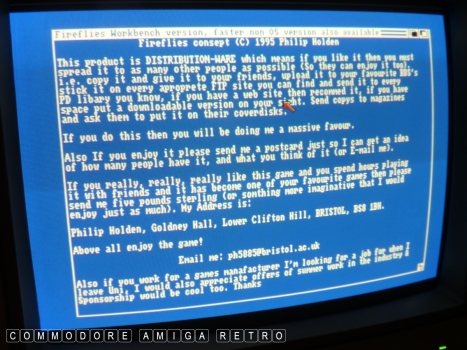
To test further I rebooted into my
OS on the A590 sidecar and tried the
disk again. Incredible.

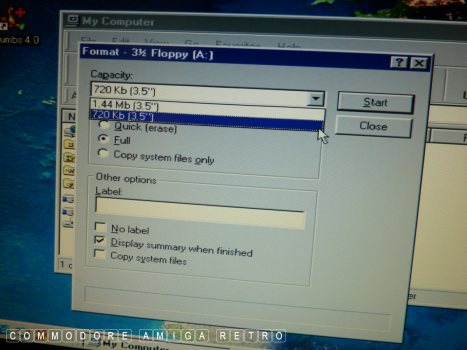
See the blog yesterday on how to transfer
Aminet files to PC disks.

Do remember that I am a retro user that
does things old skool. There are many
modern methods that circumvent a lot of
what is shown here ... BUT this is old stylie.
Tomorrow I show you how to make a Thermonuclear
reactor from an empty toilet roll holder and
some sticky back plastic........
Before they send in the grey suits and
helicopters... I really can't back that up.
So there you go... PC files to an Amiga 500 running 1.3.


![]()


![]()