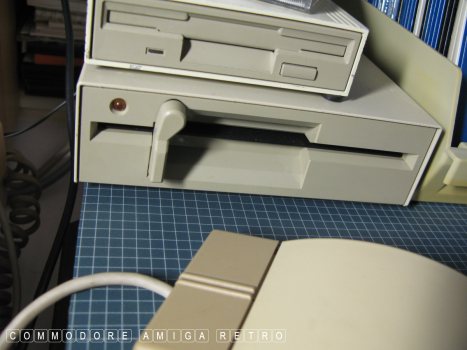
Amiga 1200 and the Q and 80 on the 5.25.
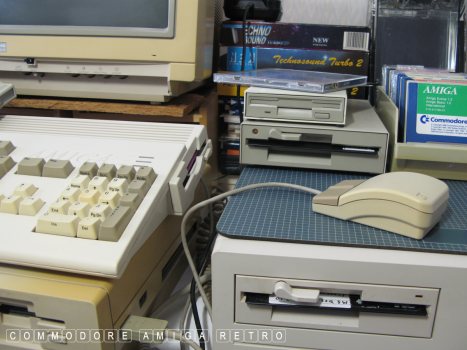
Unbranded 5.25" floppy drive.
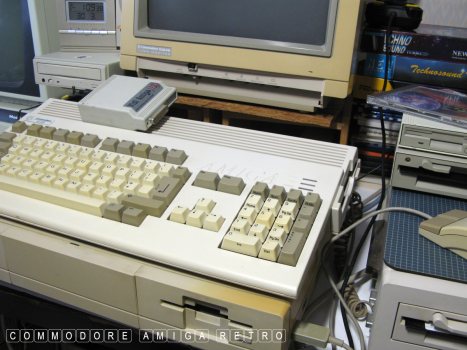
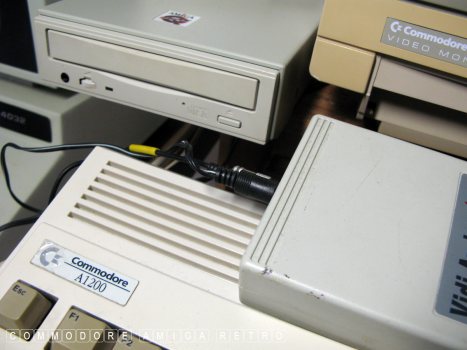
A1200 that I use with the Amiga 1000.
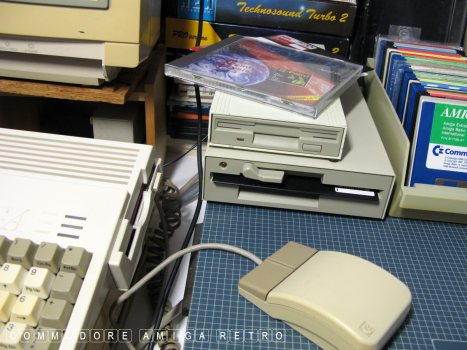
The drive above is a high density drive.
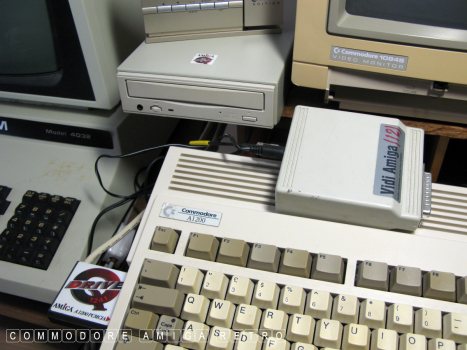
Sitting to the left is the 'Q' Drive and CD-ROM.
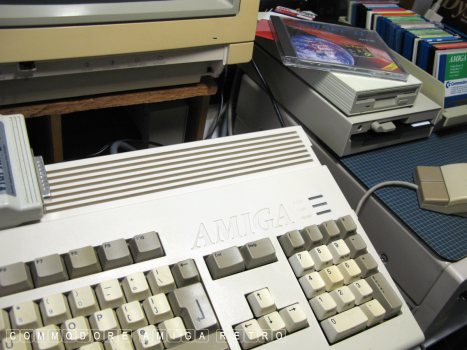
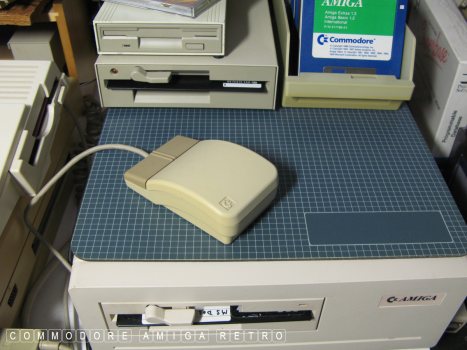
Below the drive is the Amiga 1060 sidecar.
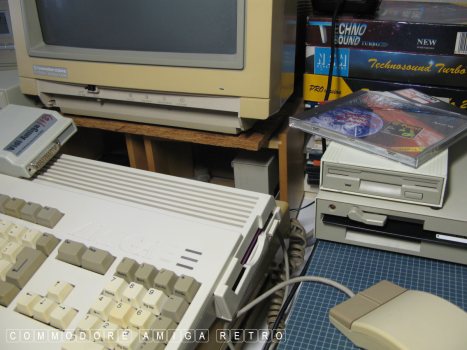
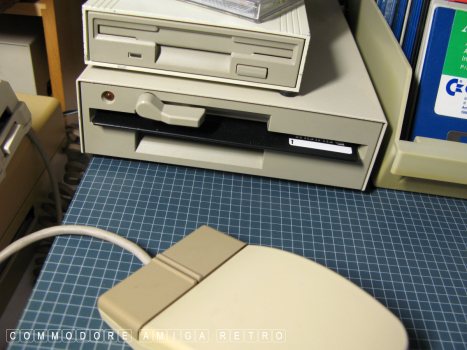
The 5.25" floppy is set to 80 Track.
The 'Q' Drive uses its own File System.
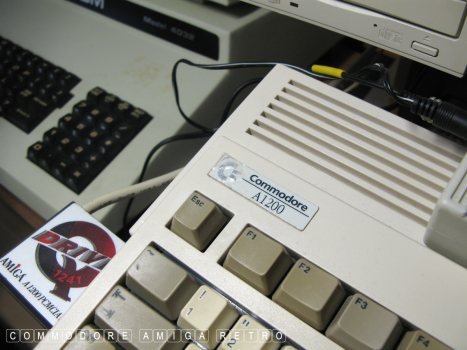
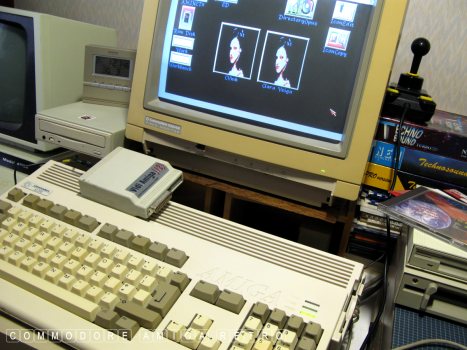
I unhooked the Vidi Amiga and HD floppy
given that it is driven by the floppy
and I didn't want to tax the A1200.
And so we are ready.
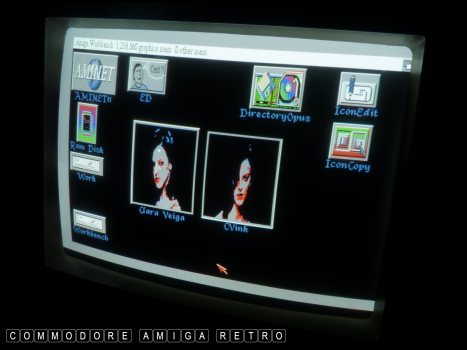
I use big Clara Veiga icons to make
understanding the drives easier on screen.
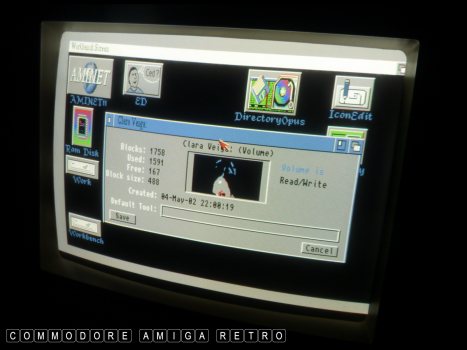
Clara Veiga is the Amiga based 5.25"
floppy volume without a special mount file.
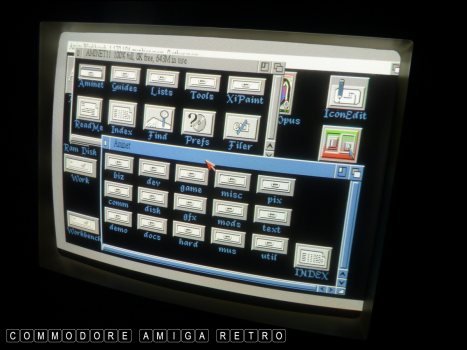
The 'Q' Drive has Aminet Volume 11 for reference.
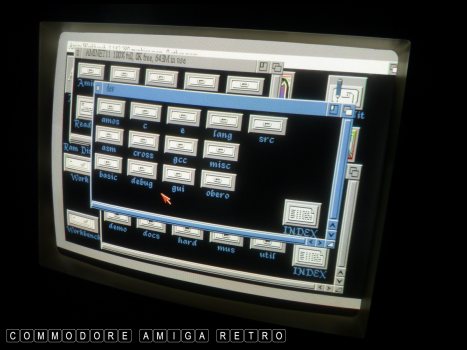
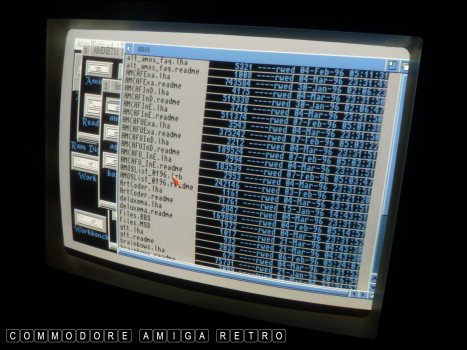
I can copy a few files over to test.
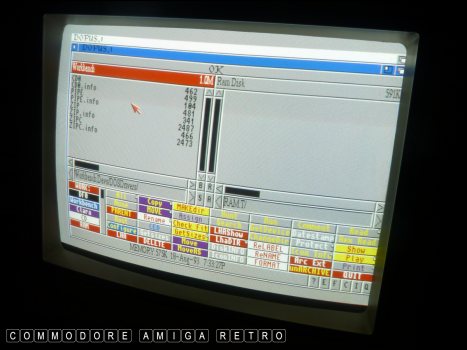
DOpus shows the current Devs/DOSDrivers
And note that there is no PC1 for DF1.
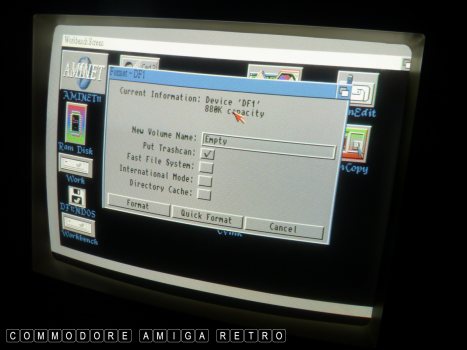
OK let me Format a new 5.25" floppy.
The drive is treated as a 3.5" format.
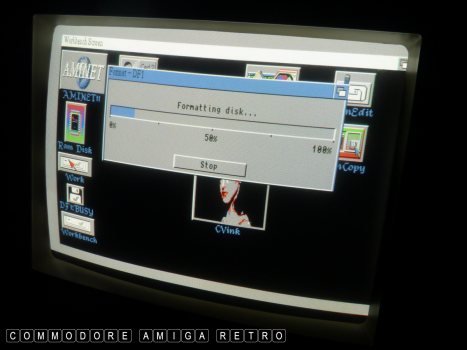
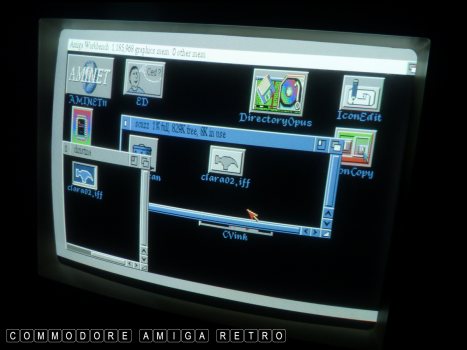
I name the floppy as scuzz and test copy a file.
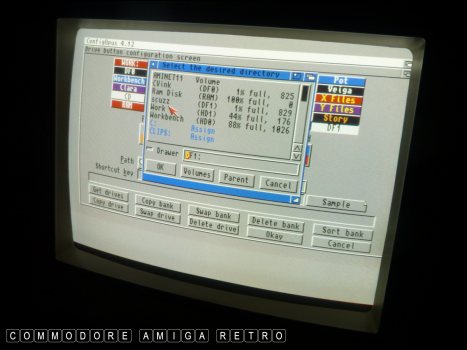
And now scuzz appears as DF1.
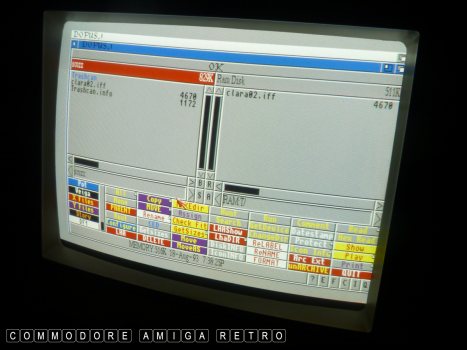
And there is the file I copied.
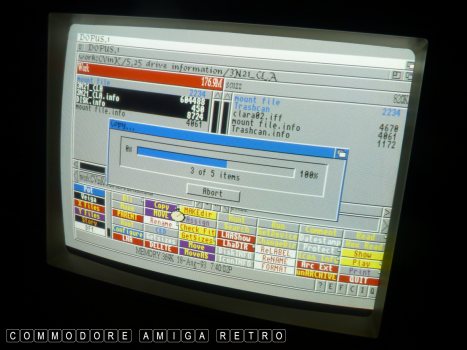
I then copy an animation plus a Clara Veiga
disk.info file for the big icon.
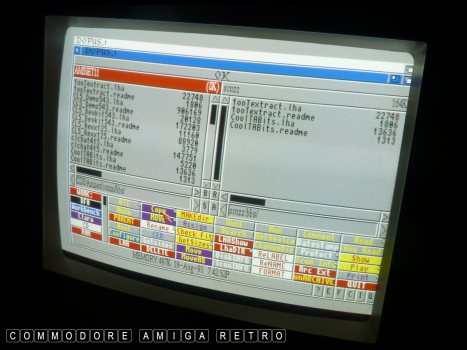
I also copy some Aminet files into a
BBS drawer for good measure.
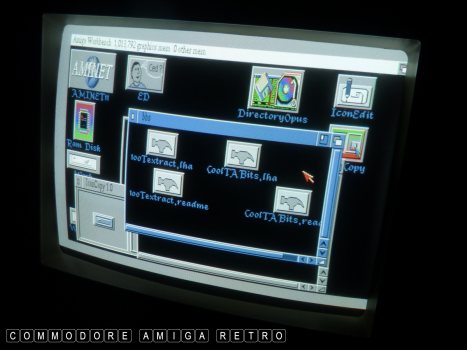
And all the files and drawers appears
on the 5.25" drive just as a 3.5" drive.
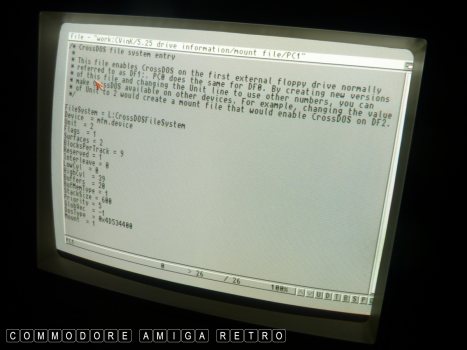
And I created a PC1 for using CrossDOS but
chose not to mount it. This is the mountfile
for 40 Tracks. The Flags set to 1 is essential
if you want to read as a 40 Track device.
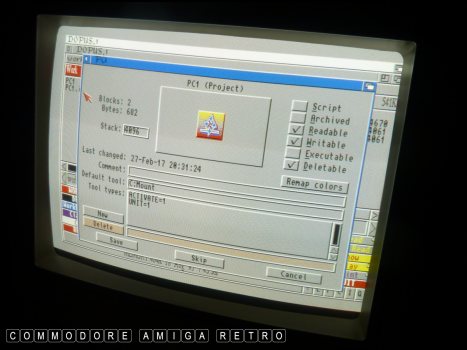
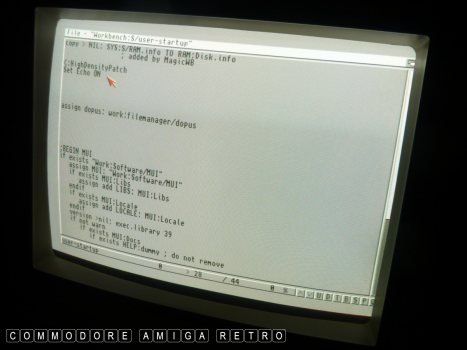
One thing I find useful when using external
devices is to set ECHO to ON in the User-Startup.
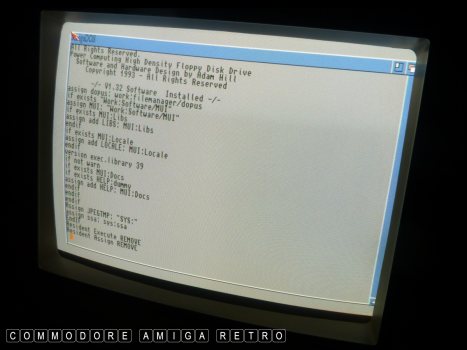
That way you see the script of the loading process
on boot. If the computer halts booting it will hang
on the line identifying the device and let you know
which one aint working.
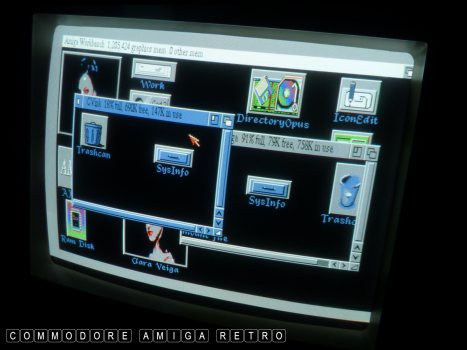
Time to copy over SysInfo.
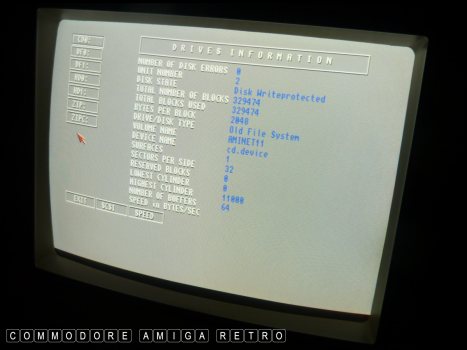
And there are all the drives listed.
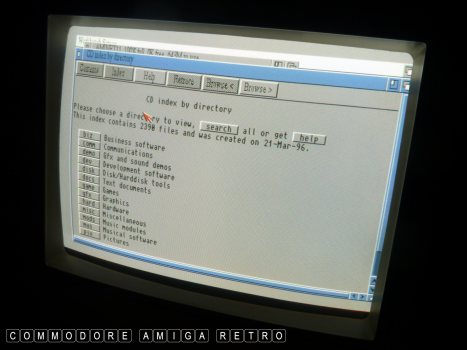
This is the contents of the Aminet CD.
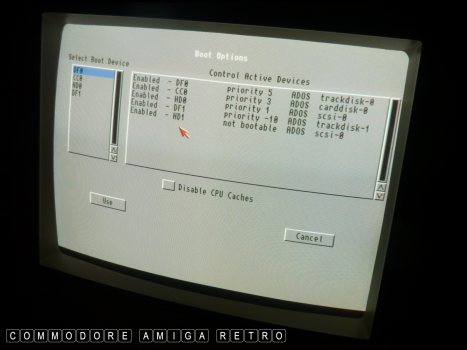
And this is your boot priority from holding
both mouse buttons down on boot. Very useful.
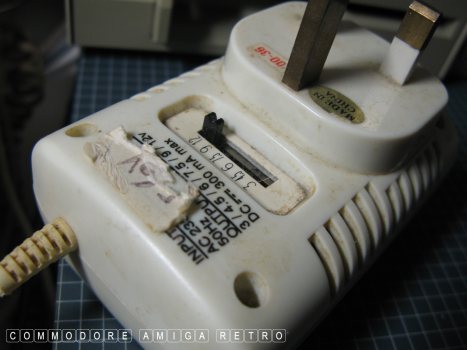
I had to do some deep digging to source
the power rating for the 'Q'Drive.
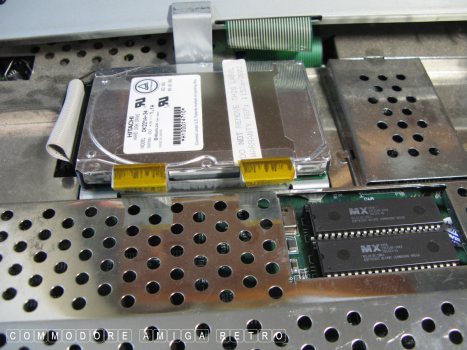
OK time to reinstall the Blizzard 1230IV.
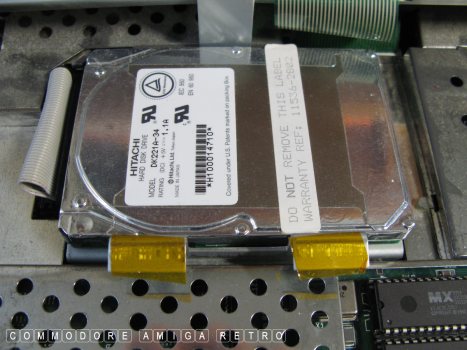
The current 2.5" internal drive.
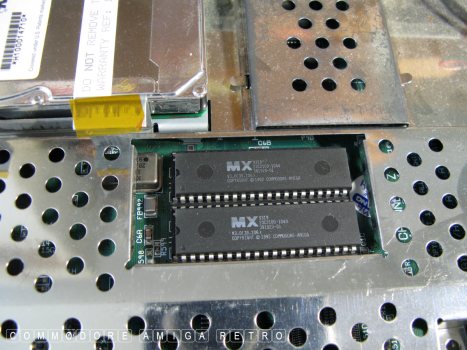
The 3.0 ROMs which are just fine.
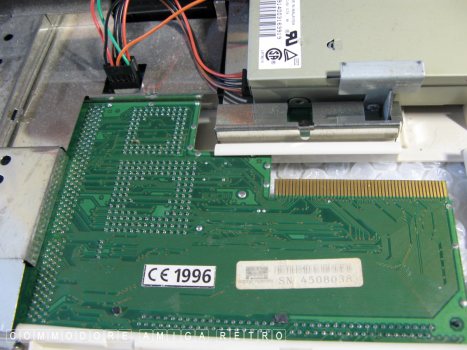
Enter the mighty Blizzard. I never bother
installing from below. I fit from above.
Watch that shielding. Good idea to add a
little electrical tape to stop shorting.
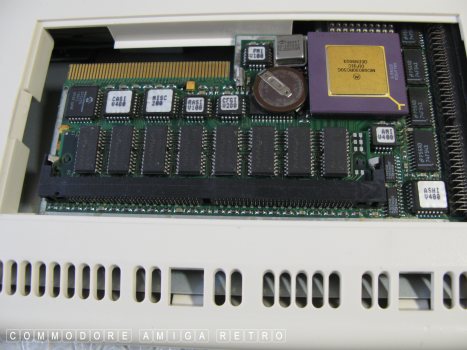
32MB RAM. The only way to go.
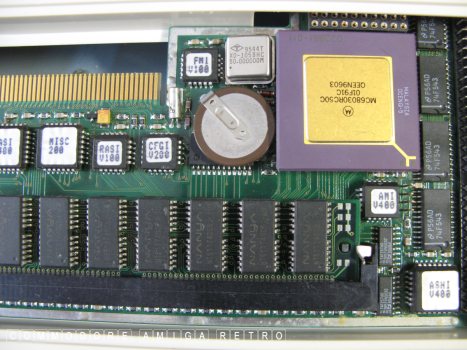
The interface top left is for the SCSI KIT.
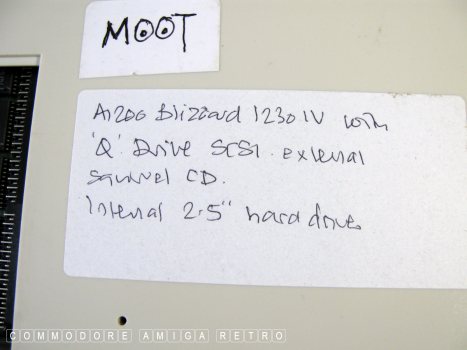
My sticky note.
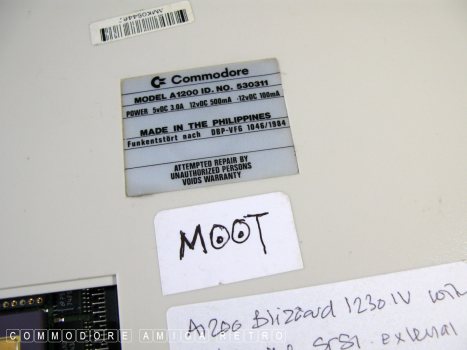
Computer name and Commodore label.


![]()


![]()