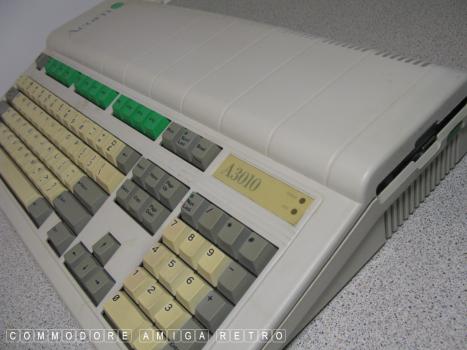
This is a very clean machine
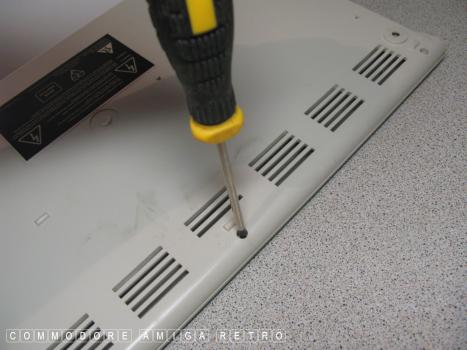
And this is how we do it !!!
First unscrew the three screws to the
rear bottom edge of the computer
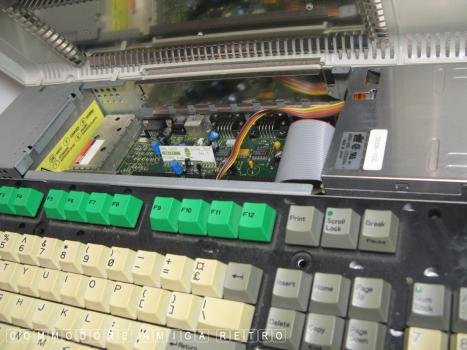
Hinge the top cover back and remove
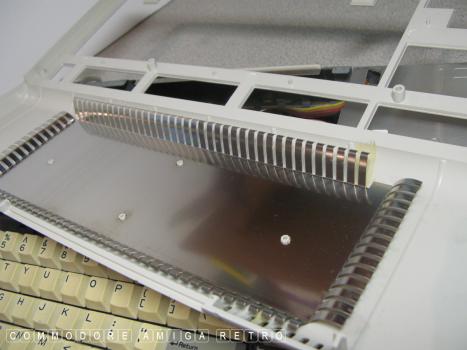
Sometimes the baking tray is attached to
the inner casing so that may also need removing
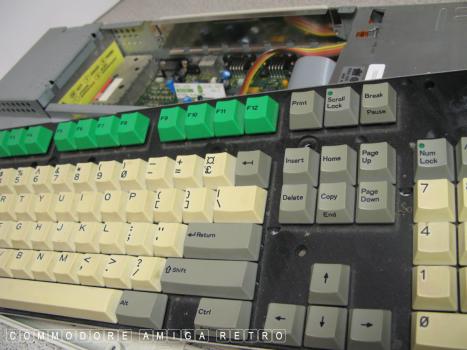
Time to remove the keyboard.. BUT STOP !!
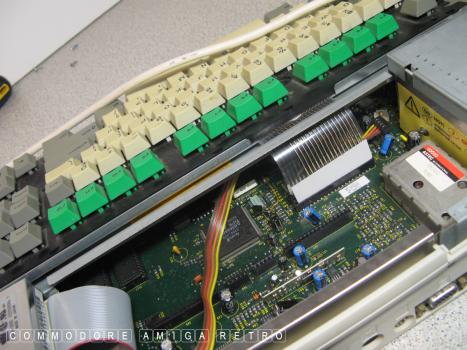
Carefully pull out the ribbon connectors
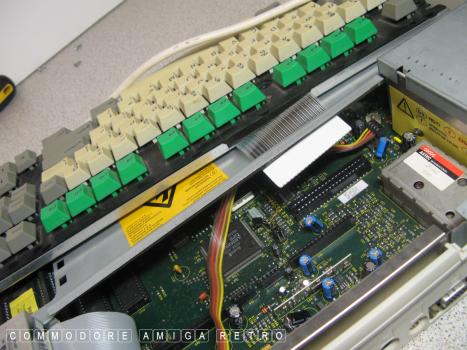
And feed them through the slot
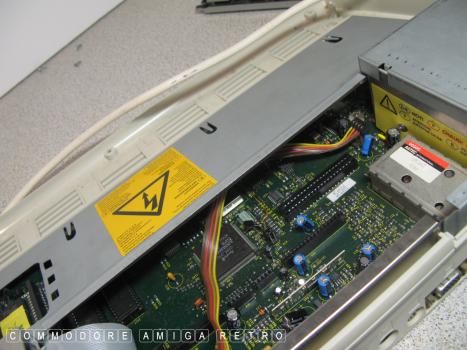
Next stop is the grey metal shielding
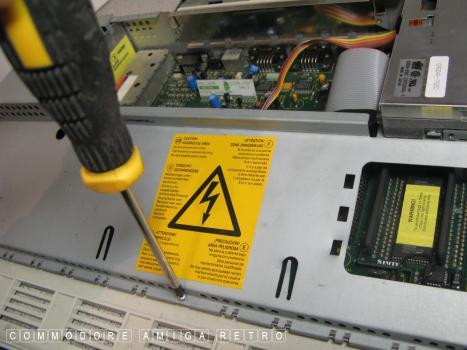
Remove the three screws from the base
These may be star screws. Use the correct
tools for removal as the middle one is tight
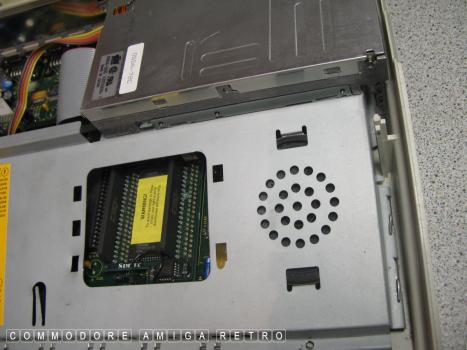
To the edges are special slides
similar to ones found on PC cases
of old. The whole unit simply slides
down by around 12mm.
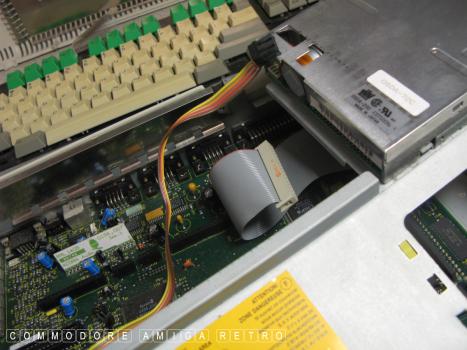
Make sure the floppy cable and power
are removed and there is a white/black
connector under the shielding to remove
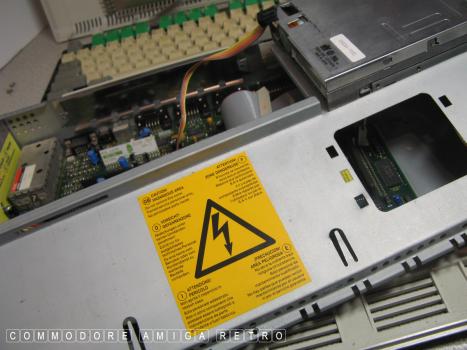
With all that done simply slide down
and lift off the shielding
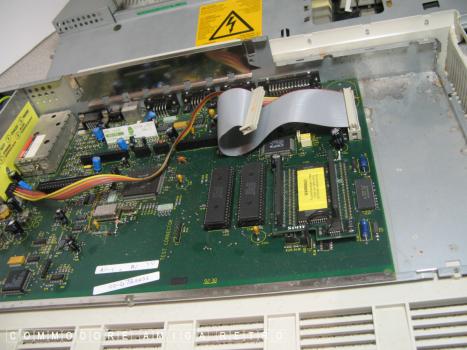
The motherboard can be unscrewed but
remember there are a further two screws
under the machine by the PSU
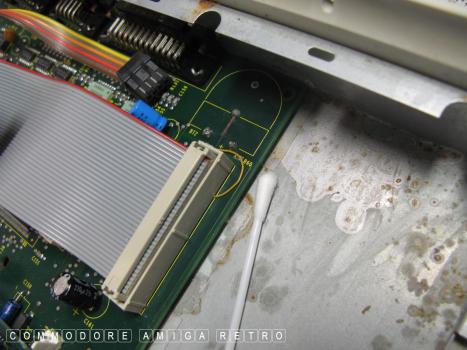
And as I suspected I had already
been here and removed the battery
Note the damage to the casing bottom
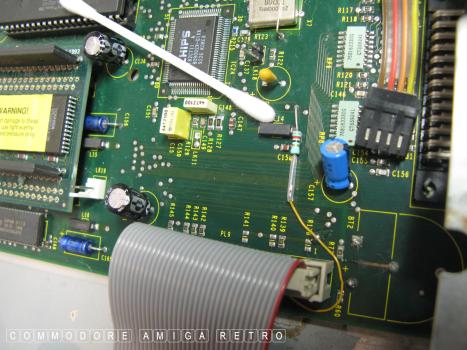
Interesting wired which is connected
to the floppy pin and then tracks round
inside the board
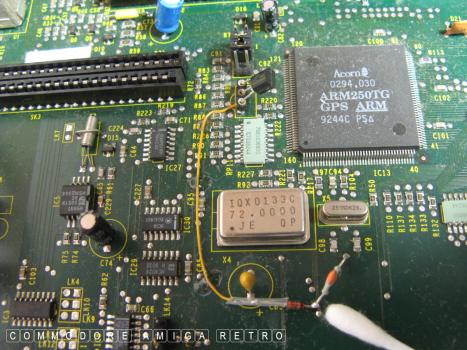
Another strange wire
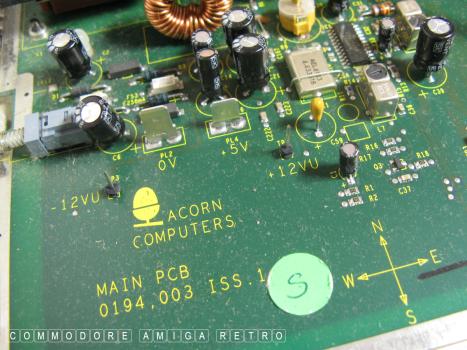
Just for info.
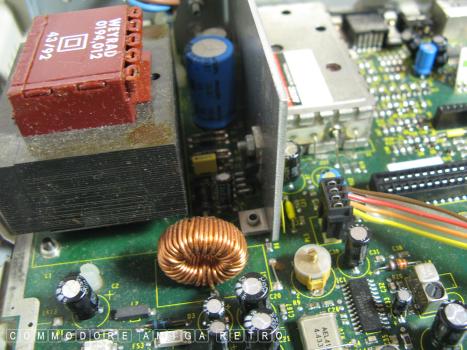
You can see the motherboard screw
almost middle/left on this image
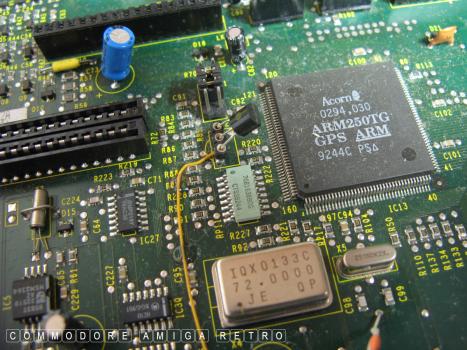
Closer picture of the GPS ARM
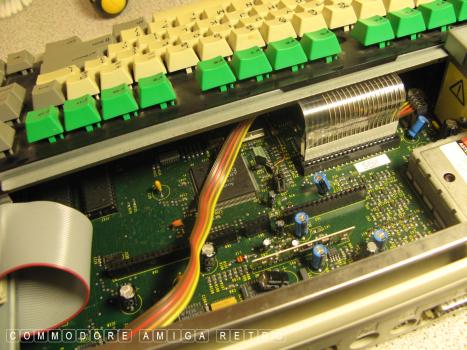
OK time to reverse engineer and reconnect
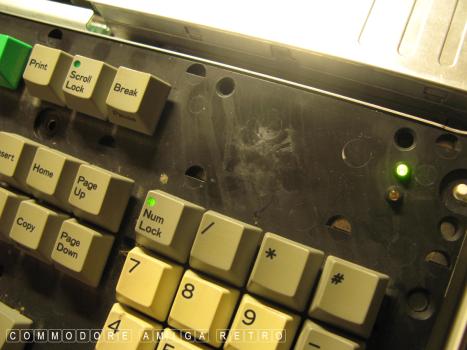
Seems to be working
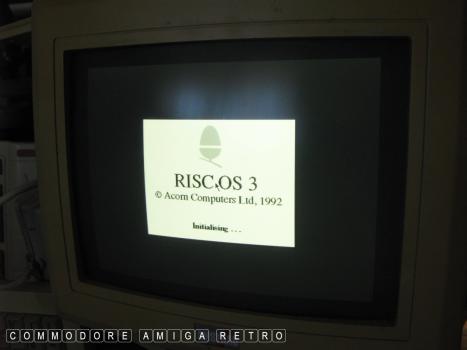
Boots just fine on the DELETE key
I just keep pressing the key
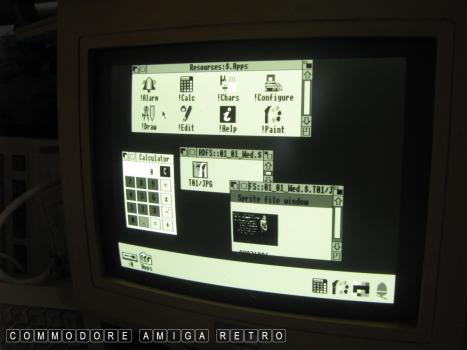
I used the floppy from the last session
and like magic she is working as intended
Without a battery.. but better that, than
a busted motherboard
I think I'm done


![]()


![]()