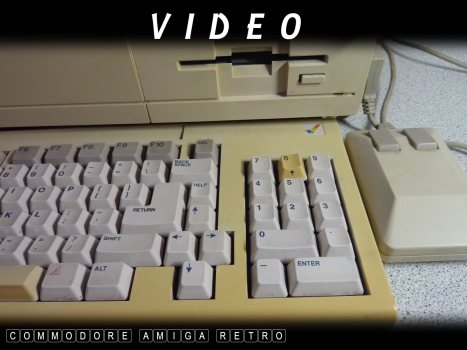
Amiga 1000 just the noise
ScuzzBlog: Diaries November 2024
Entry 07th November 2024: Post 1: Amiga 1000 - Boot Sequence.
Amiga 1000 - Boot Sequence.
Responding to a query regarding the actual boot process and sequence
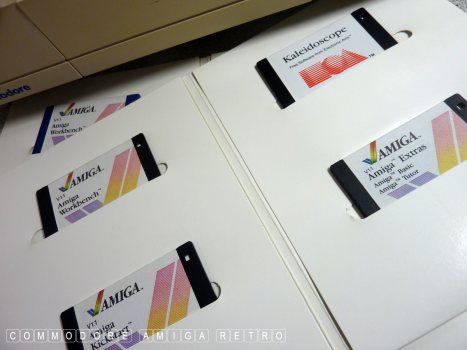
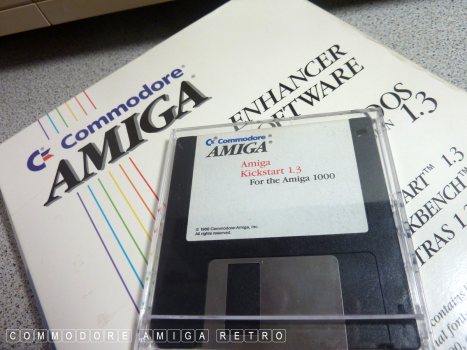
for the Amiga 1000. Note that the ROM or Kickstart for this machine
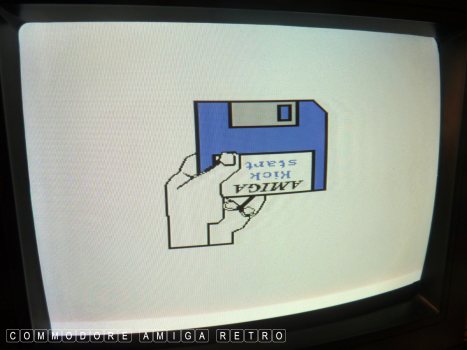
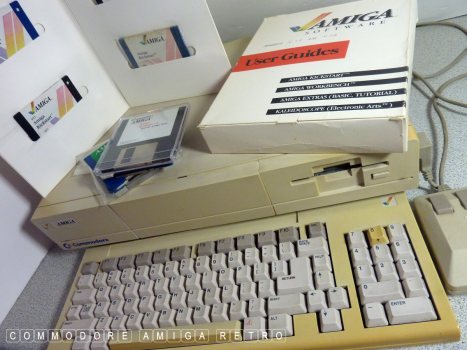
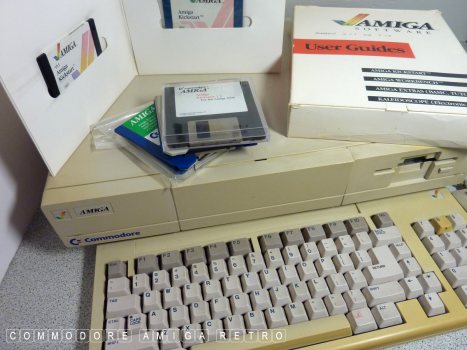
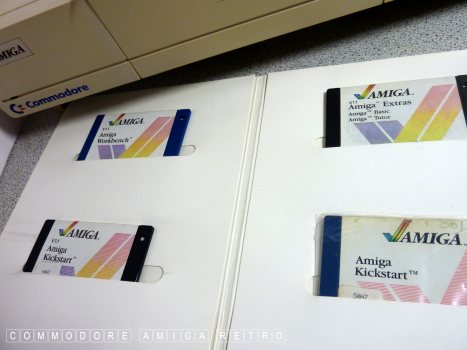
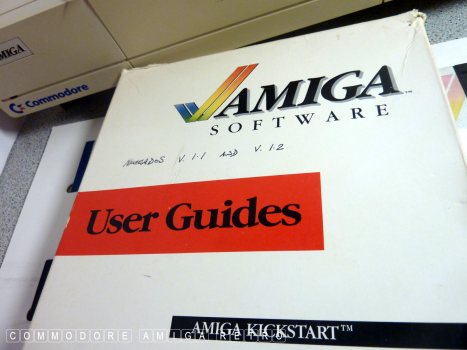
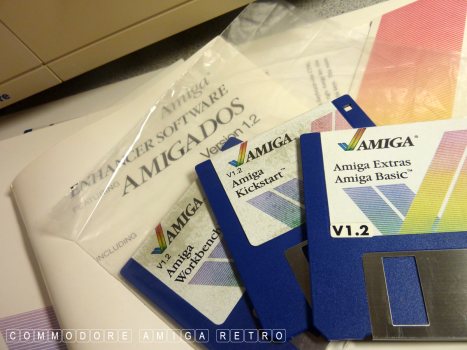
unlike other Amigas is on a disk. So before loading the Workbench
you are required to boot the Kickstart Disk.

The Amiga 1000 gives out a short trill noise when first switched on.

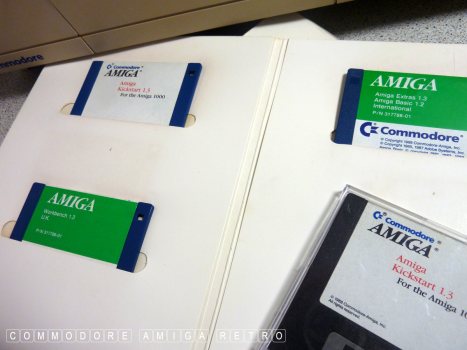
The Amiga 1000 obviously started life with Workbench 1 but moved
very rapidly to Workbench 1.2 and with the release of the Amiga 500
upgraded to Workbench 1.3.

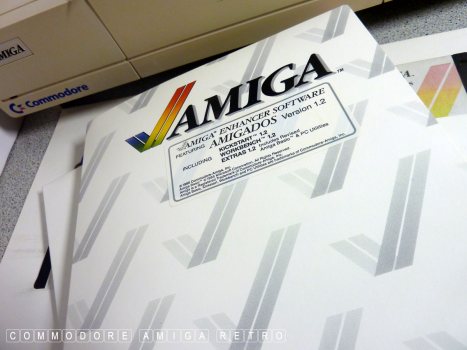
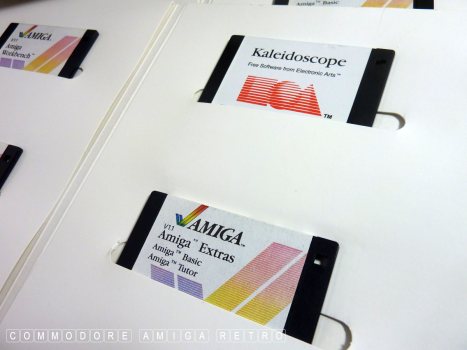
Today I will test the machine with Kickstart 1.2 and Workbench 1.2.
You will need both disks to use the Amiga Workbench.

Amiga 1000 Boot Sequence: [note loss of time fumbling actual disk].

01: switch on 'trill' noise.
02: 15 seconds white screen.
03: 19 seconds request Kickstart Disk.
04: 20 seconds insert Kickstart 1.2 disk.
05: 50 seconds 'black', 'grey', 'white' screen.
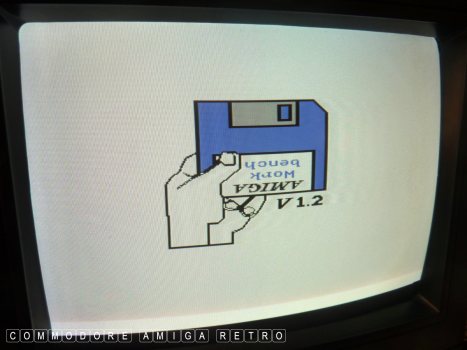
06: 60 seconds request Amiga Workbench Disk version 1.2.
07: 1m 05 seconds disk inserted and bright white screen.
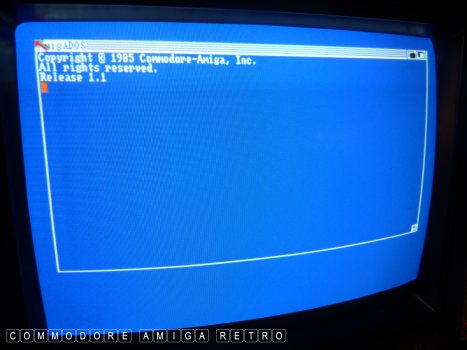
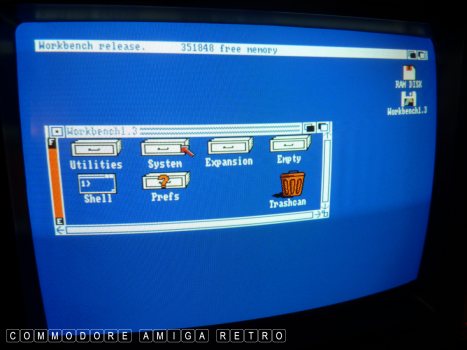
08: 1m 21 seconds blue screen Copyright 1985-1986 Commodore Amiga Release 1.2.
09: 1m 54 seconds Workbench appears.
10: 2m and you are ready to rock and roll.
Amiga 1000 - 'trill noise'
Amiga 1000 - Boot Sequence.
If you can only see this CONTENT window
then click the image above for the full site
Last updated 07th November 2024
Chandraise Kingdom
![]()
Keep the Faith
scuzzscink 2024

