ScuzzBlog: Diaries October 2022
Entry 1st October 2022: Post 1: AmigaGuide - Tales from the vault.
AmigaGuide - Tales from the vault.
On the face of it this blog may look a little confusing ... and sadly
you wouldn't be wrong. I wanted to feature the original guide that
was first shown on the old FRAME style pages of the old site, and
so decided to leave the links as they were originally. So clicking
the below link drops you down the old rabbit hole.
I decided like an idiot to link some very old blog notes from the
days of the Amiga Groups and those seriously go on and on and on.
Finally I have linked some more recent blog images and features.
Altogether one hell of a mess, but hey, if you are minded to pick
through the meandering text then you will get a good idea of how
to create an AmigaGuide document. Which is fun, trust me.
Masterclass Tutorial
`You`ve probably seen them, you`ve probably used them - now
John Kennedy explains how to write them: AmigaGuide documents.`
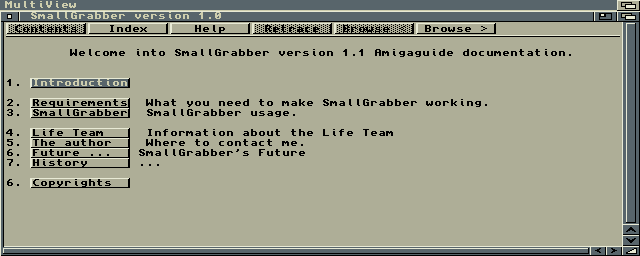 This AmigaGuide is for the screen grabbing software
that I use to capture these images.
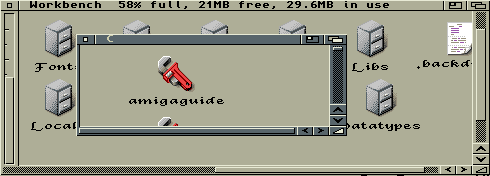 Click Above to view the various Libraries
and ToolTypes that you need on your system to view
and AmigaGuide document.
EXAMPLE INSTRUCTIONS [ DEEP BREATH !! ]
1. @database scuzz document
2. @wordwrap
3. @node Main "This is a scuzz document"
4. @{fg shine}TITLE@{fg text}
5. Type in normal text here.
6. @{b}Bold Text@{ub}
7. @{i}Italic Text@{ui}
8. @{u}Underlined Text@{uu}
9. @{"LINK" link link1}Creates a button linked to another node
10.@{"PICTURE LINK" link yourdrive:images/scuzz.gif/main}Button linked to a picture
11.@{"SOUND LINK" link yourdrive:sounds/boppy.iff}Button linked to a sound file
12.@endnode
13.@node link1 "Linked Node"
1."@database" advises the Amiga software this is an AmigaGuide.
"scuzz document" is the tile.
2."@wordwrap" turns the automatic wordwrap on. Type without return.
3.The first page of the document's name.
Each page of the document is called a node.
The first page is named "@node Main".
The text in quotation marks appears in the title bar.
4.The first line can be made to stand out, as a title.
"@{fg shine}" makes the text a different colour - default white
All text you insert after this will appear in white
unless you switch to normal text colour,
to do this insert "@{fg text}".
5.Typing in text appears as it would in any normal document.
Text can be shown in bold "@{b}" text is reset to normal using "@{ub}"
Same applies for italic and underline.
9.Commands also allow linked buttons to other files or pages
in the AmigaGuide. The text in quotation marks is the
wording that will appear on the button itself.
AmigaGuides can deal with more than just text. The "/main" is
The Amigaguide can link to supported datatype, not just
Links can also be to sounds played when the user clicks the button.
12.For nodes (pages) to make sense, the program must know when
a node (page) ends. So, every time a page ends there must be
inserted "@endnode".
All nodes (pages) need to be noted.
KEY COMMANDS:
Courtesy of Stephen Morley [http://code.stephenmorley.org/articles/amigaguide/]
database
Identifies the file as an AmigaGuide document:
@database
endnode
Marks the end of a node definition:
@endnode
font [name] [size]
Specifies the font to use:
@font Example.font 12
height [rows]
[Unused] Specifies the number of rows in the tallest node:
@height 100
help [node]
Specifies the node to show when the Help button is clicked:
@help "help node"
If this command is not used, the Help button provides general
help about browsing AmigaGuide documents.
index [node]
Specifies the node to show when the Index button is clicked:
@index "index node"
master [path]
[Unused] Specifies the master document on which this
document is based:
@master Documents:AmigaGuide/master.guide
node [name] [title]
Marks the start of a node definition:
@node node "Node title"
smartwrap
[3.1] Turns on smartwrap:
@smartwrap
tab [spaces]
[3.1] Specifies the number of spaces generated by the
text command tab:
@tab 2
width [columns]
[Unused] Specifies the number of columns in the widest node:
@width 100
wordwrap
[3.0] Turns on wordwrap:
@wordwrap
xref [path]
[3.0, Unused] Specifies another document to refer to:
@xref Documents:AmigaGuide/another.guide
Node commands
embed [path]
[3.0] Specifies a text file to be included at the location
of the command:
@embed Documents:Text/text.txt
font [name] [size]
A node-specific version of the global command font.
help [node]
A node-specific version of the global command help.
index [node]
A node-specific version of the global command index.
keywords [keywords]
[Unused] Specifies keywords for the node:
@keywords AmigaGuide hypertext hyperlink
macro [definition]
[3.1] A node-specific version of the global command macro.
next [node]
Specifies the node to show when the Browse > button is clicked:
@next "next node"
If this command is not used, the Browse > button leads to the
next node defined in the source text.
onclose [path]
[3.1] A node-specific version of the global command onclose;
the script is executed when the node is closed.
onopen [path]
[3.1] A node-specific version of the global command onopen;
the script is executed when the node is opened.
prev [node]
Specifies the node to show when the < Browse button is clicked:
@prev "previous node"
If this command is not used, the < Browse button leads to the
previous node defined in the source text.
proportional
[3.0] Specifies that a proportional font should be used for
this node:
@proportional
smartwrap
[3.1] A node-specific version of the global command smartwrap.
tab [spaces]
[3.1] A node-specific version of the global command tab.
title [title]
Specifies the node title, overriding the title specified with
the node command:
1
@title "Node title"
toc [node]
Specifies the node to show when the Contents button is clicked:
@toc "contents node"
wordwrap
[3.0] A node-specific version of the global command wordwrap.
Text commands
[label] alink [path] [line?]
A version of the link command that opens a new window. From
Workbench 3.0 onwards, the link does not open in a new window
and this command behaves identically to the link command.
amigaguide
[3.1] Displays Amigaguide(R) in bold text:
@{amigaguide}
apen [pen]
[3.1] Specifies the foreground colour pen number to use from
the next character onwards:
@{apen 1}
b
[3.0] Turns on bold text:
@{b}This text is bold.@{ub}
[label] beep
[3.0] Creates a button that, when clicked, issues a system
beep (usually consisting of a beep sound and a flash of the
screen):
@{"Beep" beep}
bg [colour]
Specifies the background colour to use from the next character
onwards:
@{bg background}
Possible colours are back, background, fill, filltext, highlight,
shadow, shine, and text.
body
[3.1] Restores default formatting from the next character onwards:
@{body}
bpen [pen]
[3.1] Specifies the background colour pen number to use from
the next character onwards:
@{bpen 1}
cleartabs
[3.1] Restores default tab stops from the next character onwards:
@{cleartabs}
[label] close
Creates a button that, when clicked, closes the window:
@{"Close this window" close}
This command is useful in documents opened through the alink
command. From Workbench 3.0 onwards, the button has no effect.
code
[3.1] Turns off wrapping other than when line breaks occur
in the source text:
@{code}This text will not wrap onto multiple lines.
fg [colour]
Specifies the foreground colour to use from the next character
onwards:
@{fg text}
Possible colours are back, background, fill, filltext, highlight,
shadow, shine, and text.
[label] guide [path] [line?]
[3.0] A version of the link command that may only link to an
AmigaGuide document.
i
[3.0] Turns on italic text:
@{i}This text is italic.@{ui}
jcenter
[3.1] Turns on centred text:
@{jcenter}This text is centred.
jleft
[3.1] Turns on left-aligned text:
@{jleft}This text is left-aligned.
jright
[3.1] Turns on right-aligned text:
@{jright}This text is right-aligned.
lindent [spaces]
[3.1] Specifies the indentation, in spaces, to apply from the
next line onwards:
@{lindent 2}
By default no indentation is applied.
line
[3.1] Outputs a line break:
@{line}
This command is useful when smartwrap is used.
[label] link [path] [line?]
Creates a hypertext link:
1
2
3
4
A link to @{"another node" link "node name"}.
A link to @{"a specific line in another node" link "node
name" 10}.
A link to @{"a node in another file" link "Documents:AmigaGuide/
another.guide/node name"}.
A link to @{"a different file type, using a dummy node name"
link "image.iff/main"}.
par
[3.1] Outputs two line breaks:
@{par}
This command is useful when smartwrap is used.
pard
[3.1] Restores default paragraph formatting from the next
character onwards:
@{pard}
pari [spaces]
[3.1] Specifies the indentation, in spaces, to apply to the first
line of paragraphs from the next paragraph onwards:
@{pari 2}
This value is added to any indentation specified with the indent
command, and may be negative.
plain
[3.1] Restores default text formatting from the next character
onwards:
@{plain}
[label] rx [path]
Creates a button that, when clicked, executes an ARexx script:
@{"Execute script" rx "script.rexx"}
[label] rxs [string]
Creates a button that, when clicked, executes an ARexx string:
@{"Execute string" rxs "Say 'hello'"}
settabs [spaces*]
[3.1] Specifies the tab stops, in spaces, to apply from the next
character onwards:
@{settabs 2 4 6 8}
[label] system [path]
Creates a button that, when clicked, executes an AmigaDOS command:
@{"Format floppy disk" system "Format DF0:"}
[label] quit
Creates a button that, when clicked, closes the window:
@{"Close this window" quit}
This command is useful in documents opened through the alink
command. From Workbench 3.0 onwards, the button has no effect.
tab
[3.1] Outputs a tab:
@{tab}
This command is affected by the tab and settabs commands. If
neither is used, the tab is displayed as 8 spaces.
u
[3.0] Turns on underlined text:
@{u}This text is underlined.@{uu}
ub
[3.0] Turns off bold text:
@{b}Only this text is bold.@{ub}
ui
[3.0] Turns off italic text:
@{i}Only this text is italic.@{ui}
uu
[3.0] Turns off underlined text:
@{u}Only this text is underlined.@{uu}
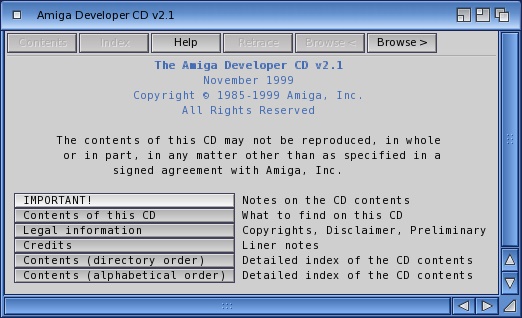
Not my images
AmigaGuide - Tales from the vault.
CVINK Vault Archive
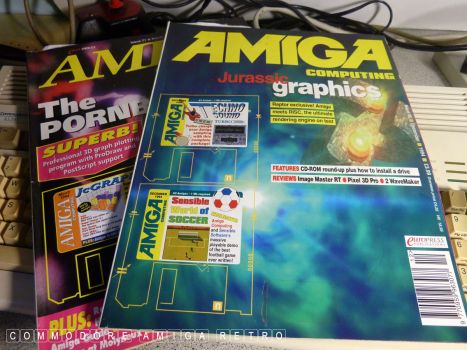
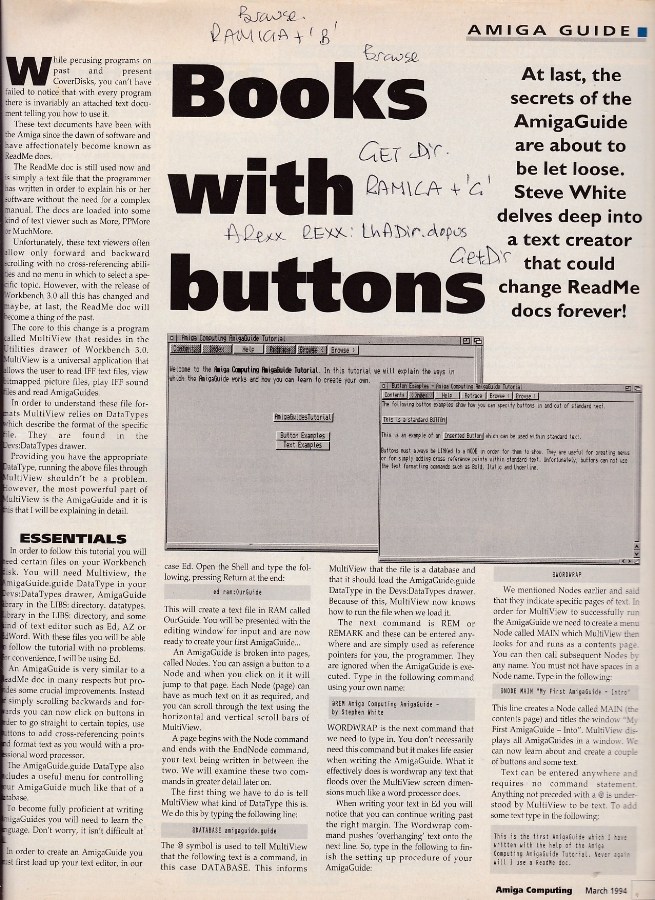
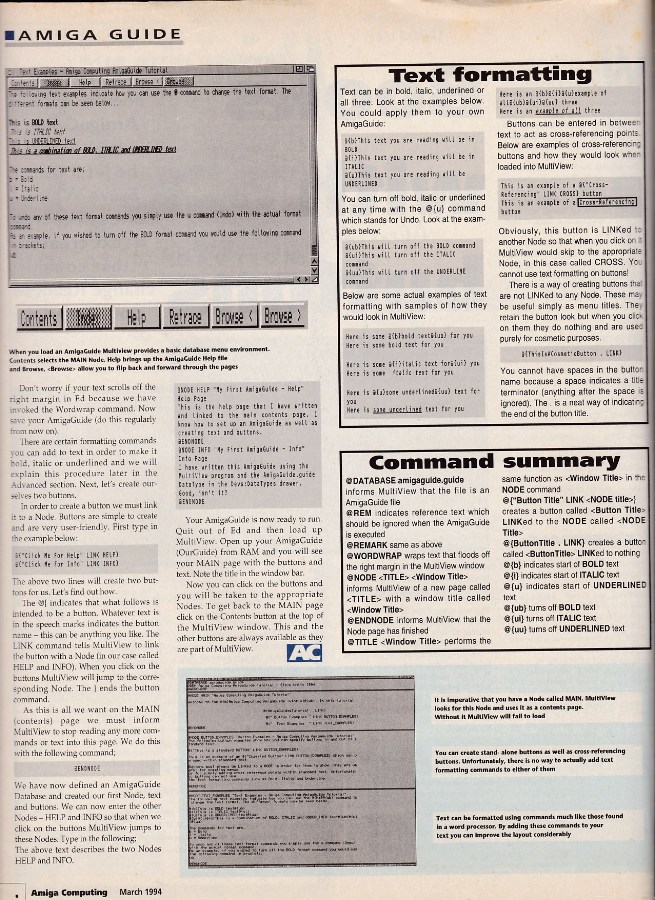
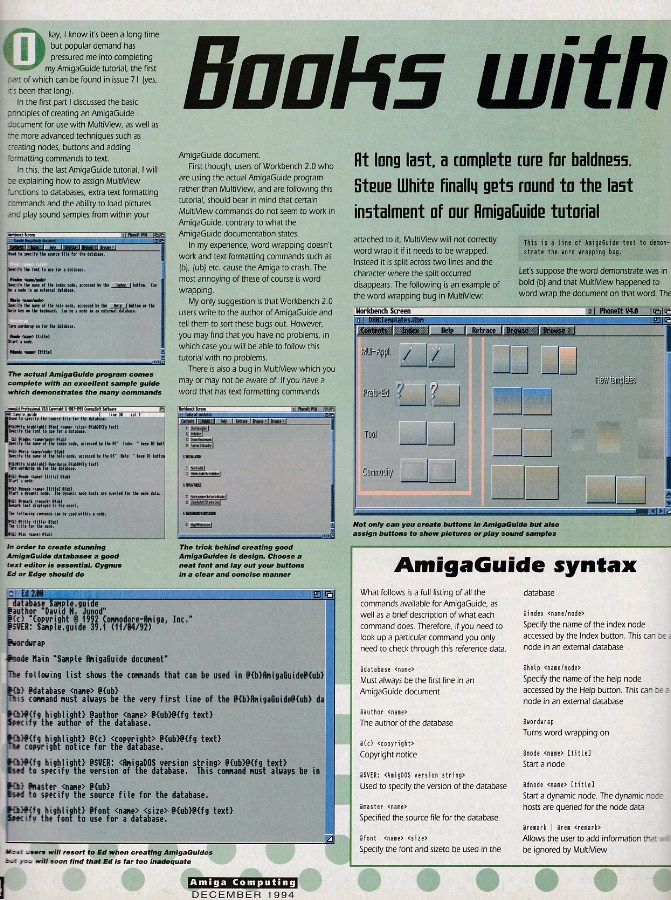
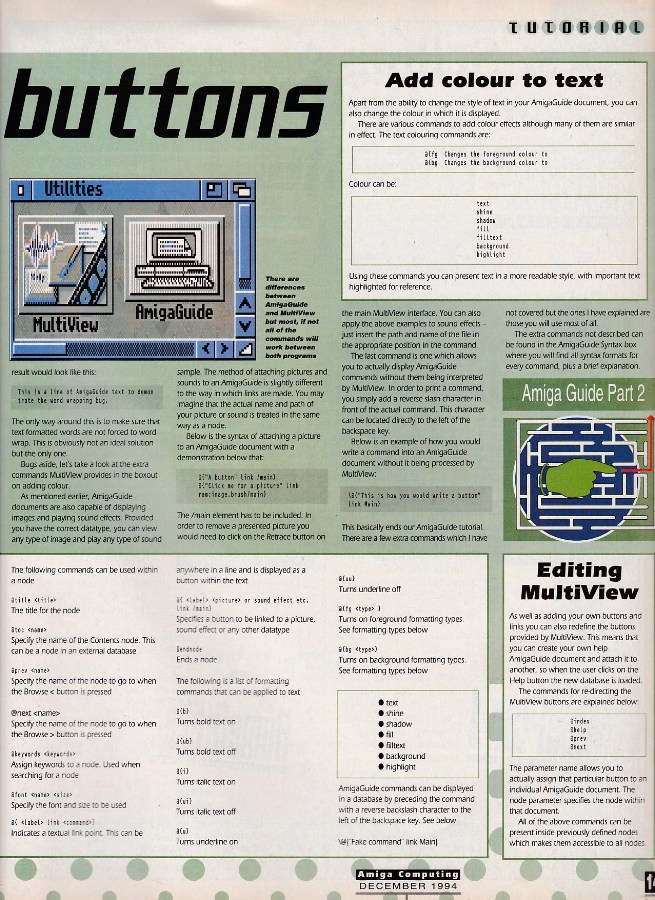
First I pulled my copies of Amiga Computing
that I keep close at all times. These have
been featured previously so check the INDEX.

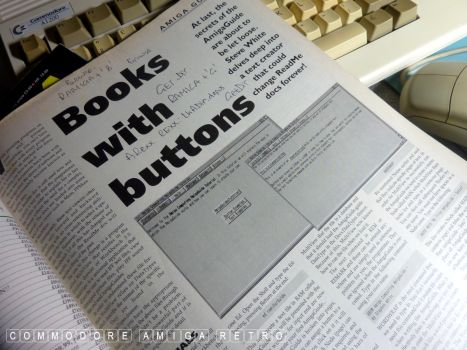
My scribbles from the day.
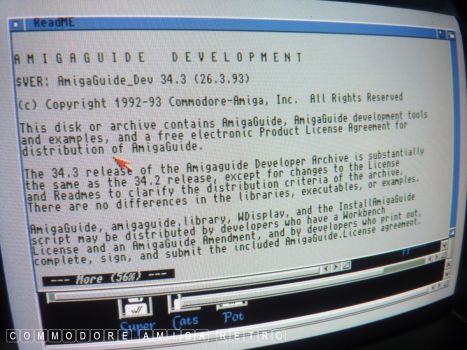
AmigaGuide 34.3 from 1993.
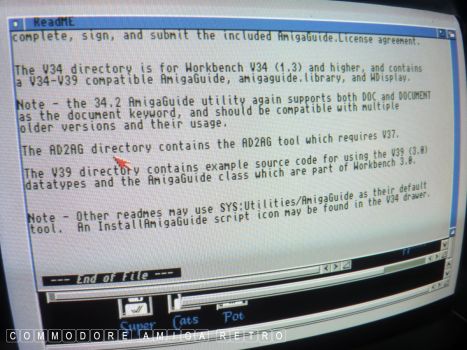
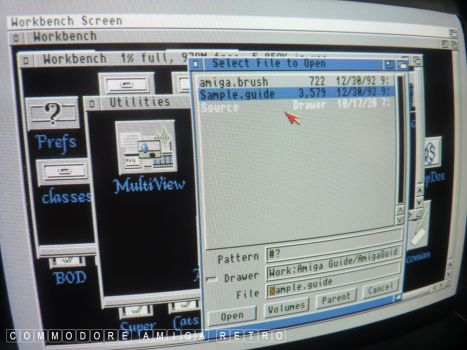
To access a guide you can use the
MultiView requester or click a guide.
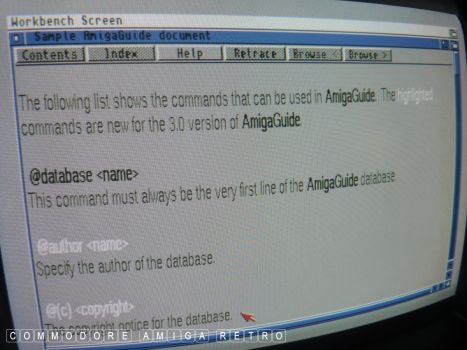
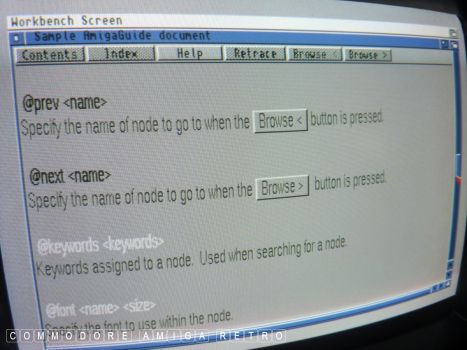
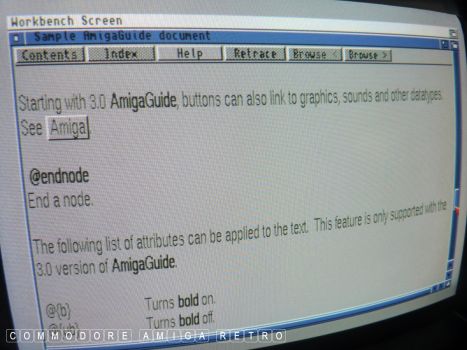
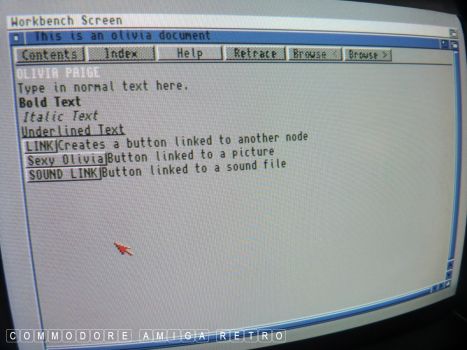
OK let's have a go at linking images.
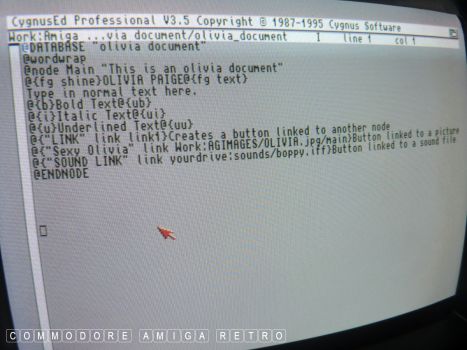
To do this I created a folder in my Work
partition called AGIMAGES and placed a jpg
in the drawer of Olivia Paige.
The above is the Guide and Text versions.
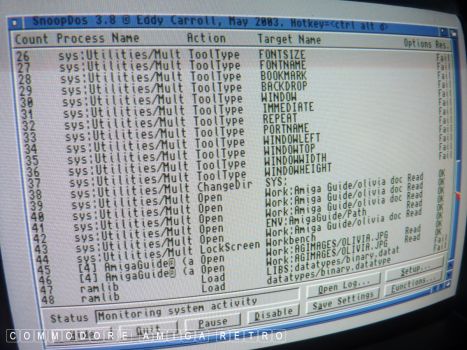
The Guide would not load the image stating
it couldn't open the binary.datatype.
I use SnoopDOS to identify the problem.
Not worth looking for the binary.datatype.
The problem is with the guide version or
the image datatype which should be a jfif.
The bigger problem is locating the problem file.

Simplest solution for me is to use a working
version from another Amiga and copy over all
the various files.... As you do.
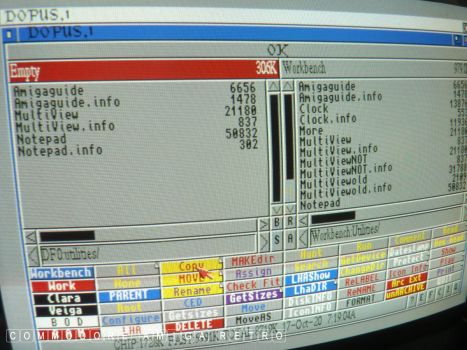
AmigaGuide and MultiView in Utilities.
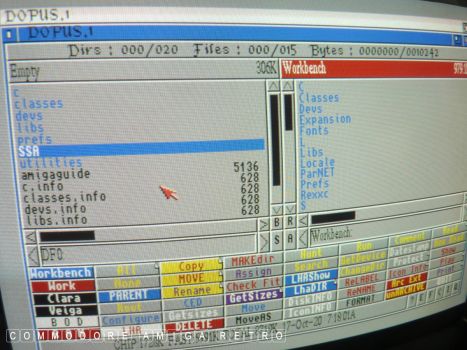
Copied over the SSA folder whilst at it.
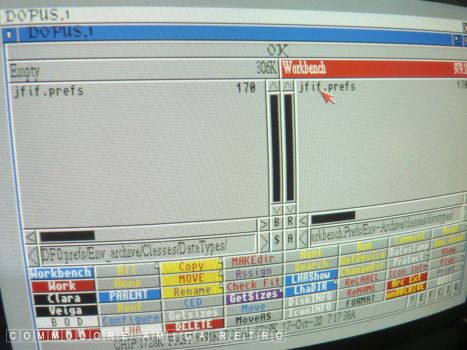
Jfif prefs to Prefs/Env-Archive/Classes/DataTypes.
I did have to flush out Prefs and ENV cus
there were multiple versions and copies.

Fresh copies of all the DataTypes to
the DEVS drawer. Keep all those that
you are not replacing.
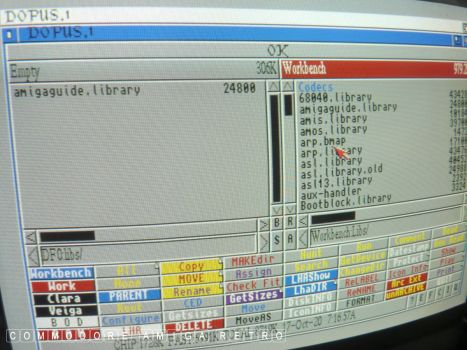
AmigaGuide.library to Libs.

For good measure I copied all those
tools I didn't have in the 'C' drawer.
I checked version types, dates etc first.
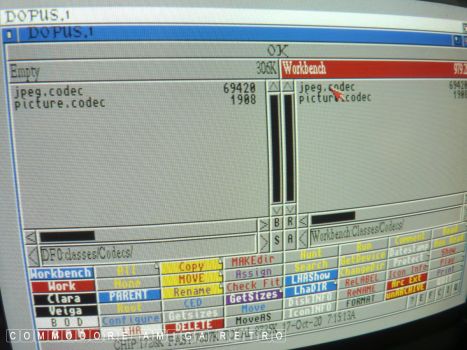
Codecs to Classes/codecs.
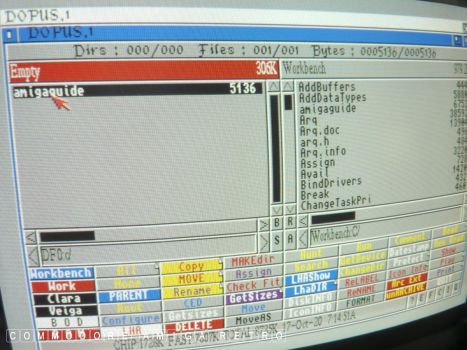
And I made sure I was using the AmigaGuide
in 'C' from the working Amiga version.
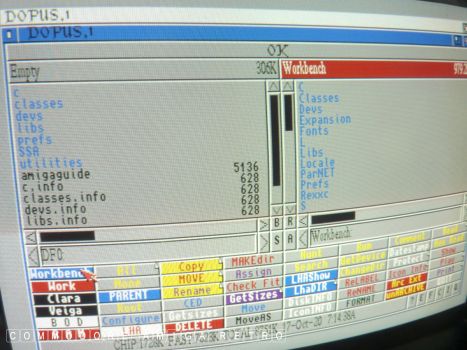
I kept a copy of all the files I changed
on a special DD floppy disk for future use.
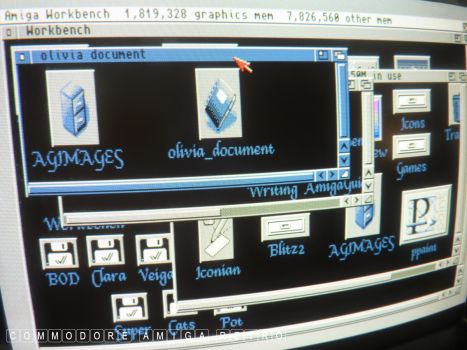
OK time to test the olivia_document.
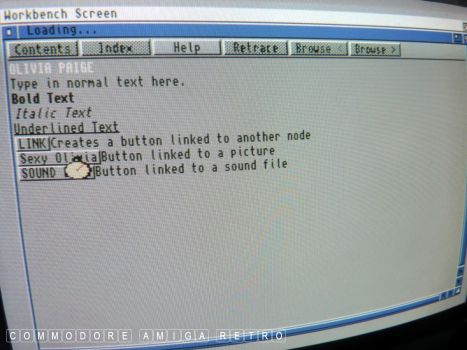
And this time the image was loaded.
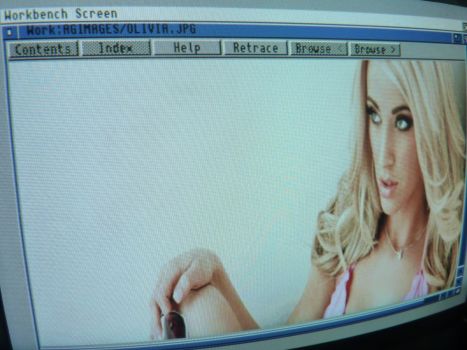
And there we have the lovely Olivia Paige.
Photograph taken by camera off monitor
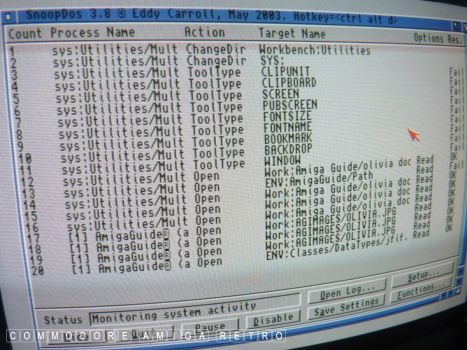
SnoopDOS confirmed it was using the
jfif datatype. The previous error of
binary is an all encompassing datatype
when it can't identify a specific type.
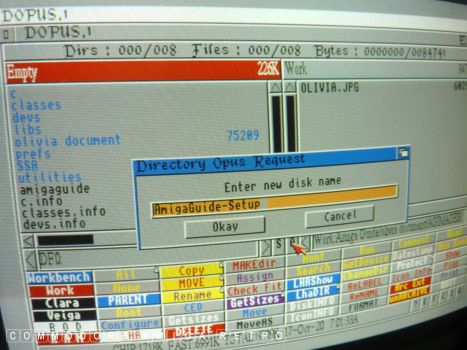
I renamed the floppy I had used.
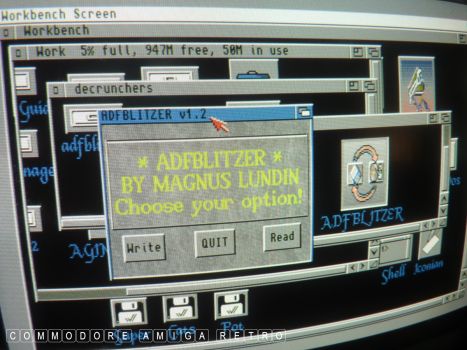
And then 'Blitzed' it to ADF.
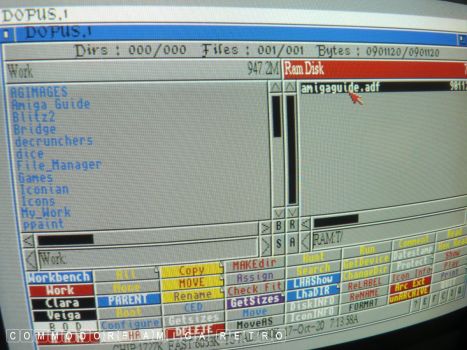
This way I could replicate the
process on other computers.
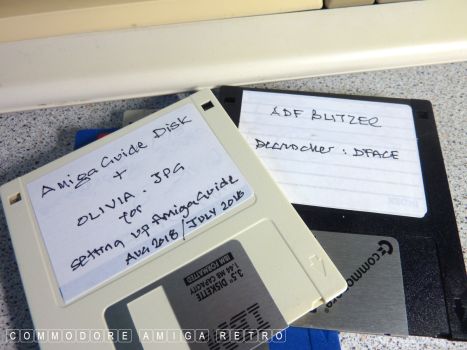
Two disks were now created for the Library.
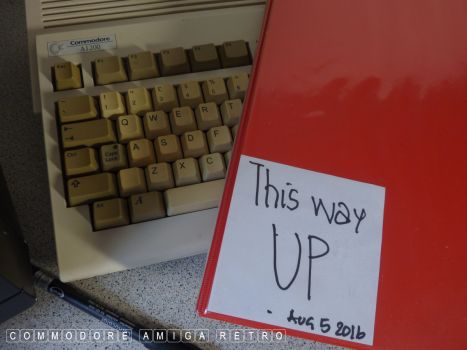
And placed in the Big Red Book of
all my useful tools and libs disks.
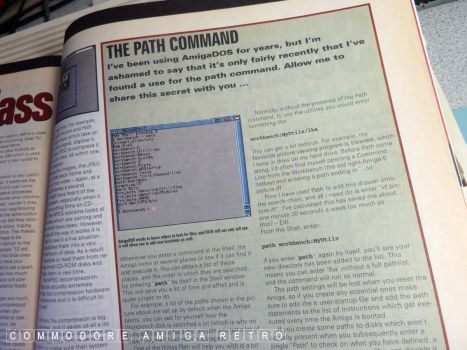
More useful stuff from those magazines.
THE PATH COMMAND.
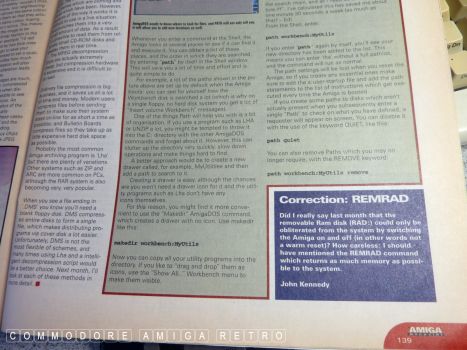
I decided to add a PATH to AmigaGuide.
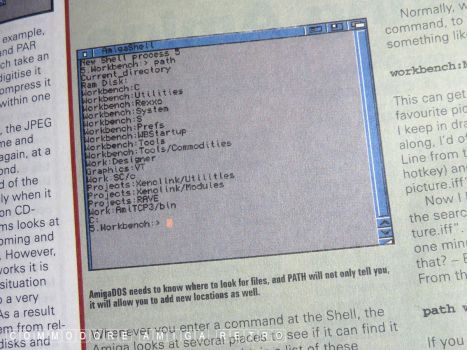
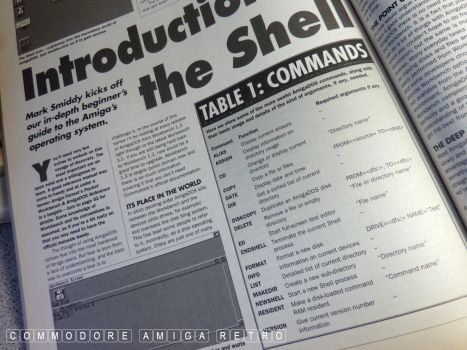
SHELL COMMANDS.
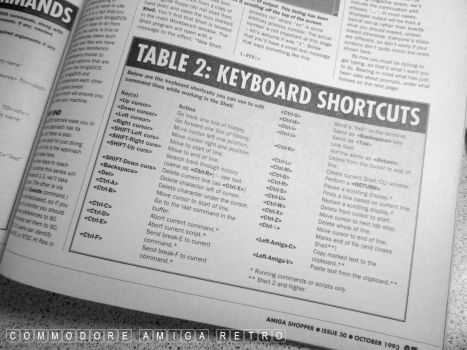
KEYBOARD SHORTCUTS.

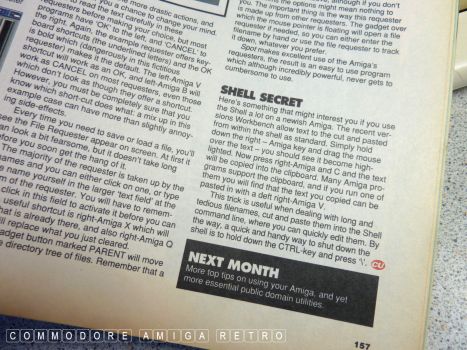
Cutting and pasting using the
clipboard using the SHELL
Remember if you have to repeat
a command in the SHELL just hit
the 'up' arrow and it will be inserted.


![]()


![]()